In this Session we will configure a virtual machine based on an image, see it in operation, and we will perform various operations on it.
- Virtual Machine : a quick reminder
- Getting started with VirtualBox
- Common operations with virtual machines
Virtual Machine : a quick reminder
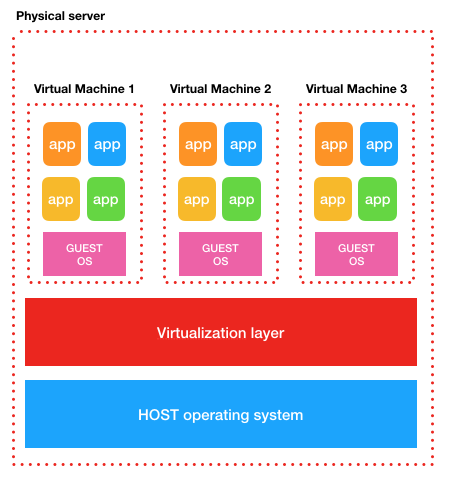
A virtual machine is the emulation of a computer system that runs on a real computer. It is based on virtual disk image file that contains the copy of a physical disk. A virtual machine can have one or several network interfaces, that can be mapped on physical network interfaces.
Getting started with VirtualBox
For this set of sessions we have chosen to use the VirtualBox hypervisor. VirtualBox is an opensource virtual machine hypervisor currently developed by Oracle.
Warning : It is strongly advised that you enable the hardware virtualization in the BIOS of your computer.
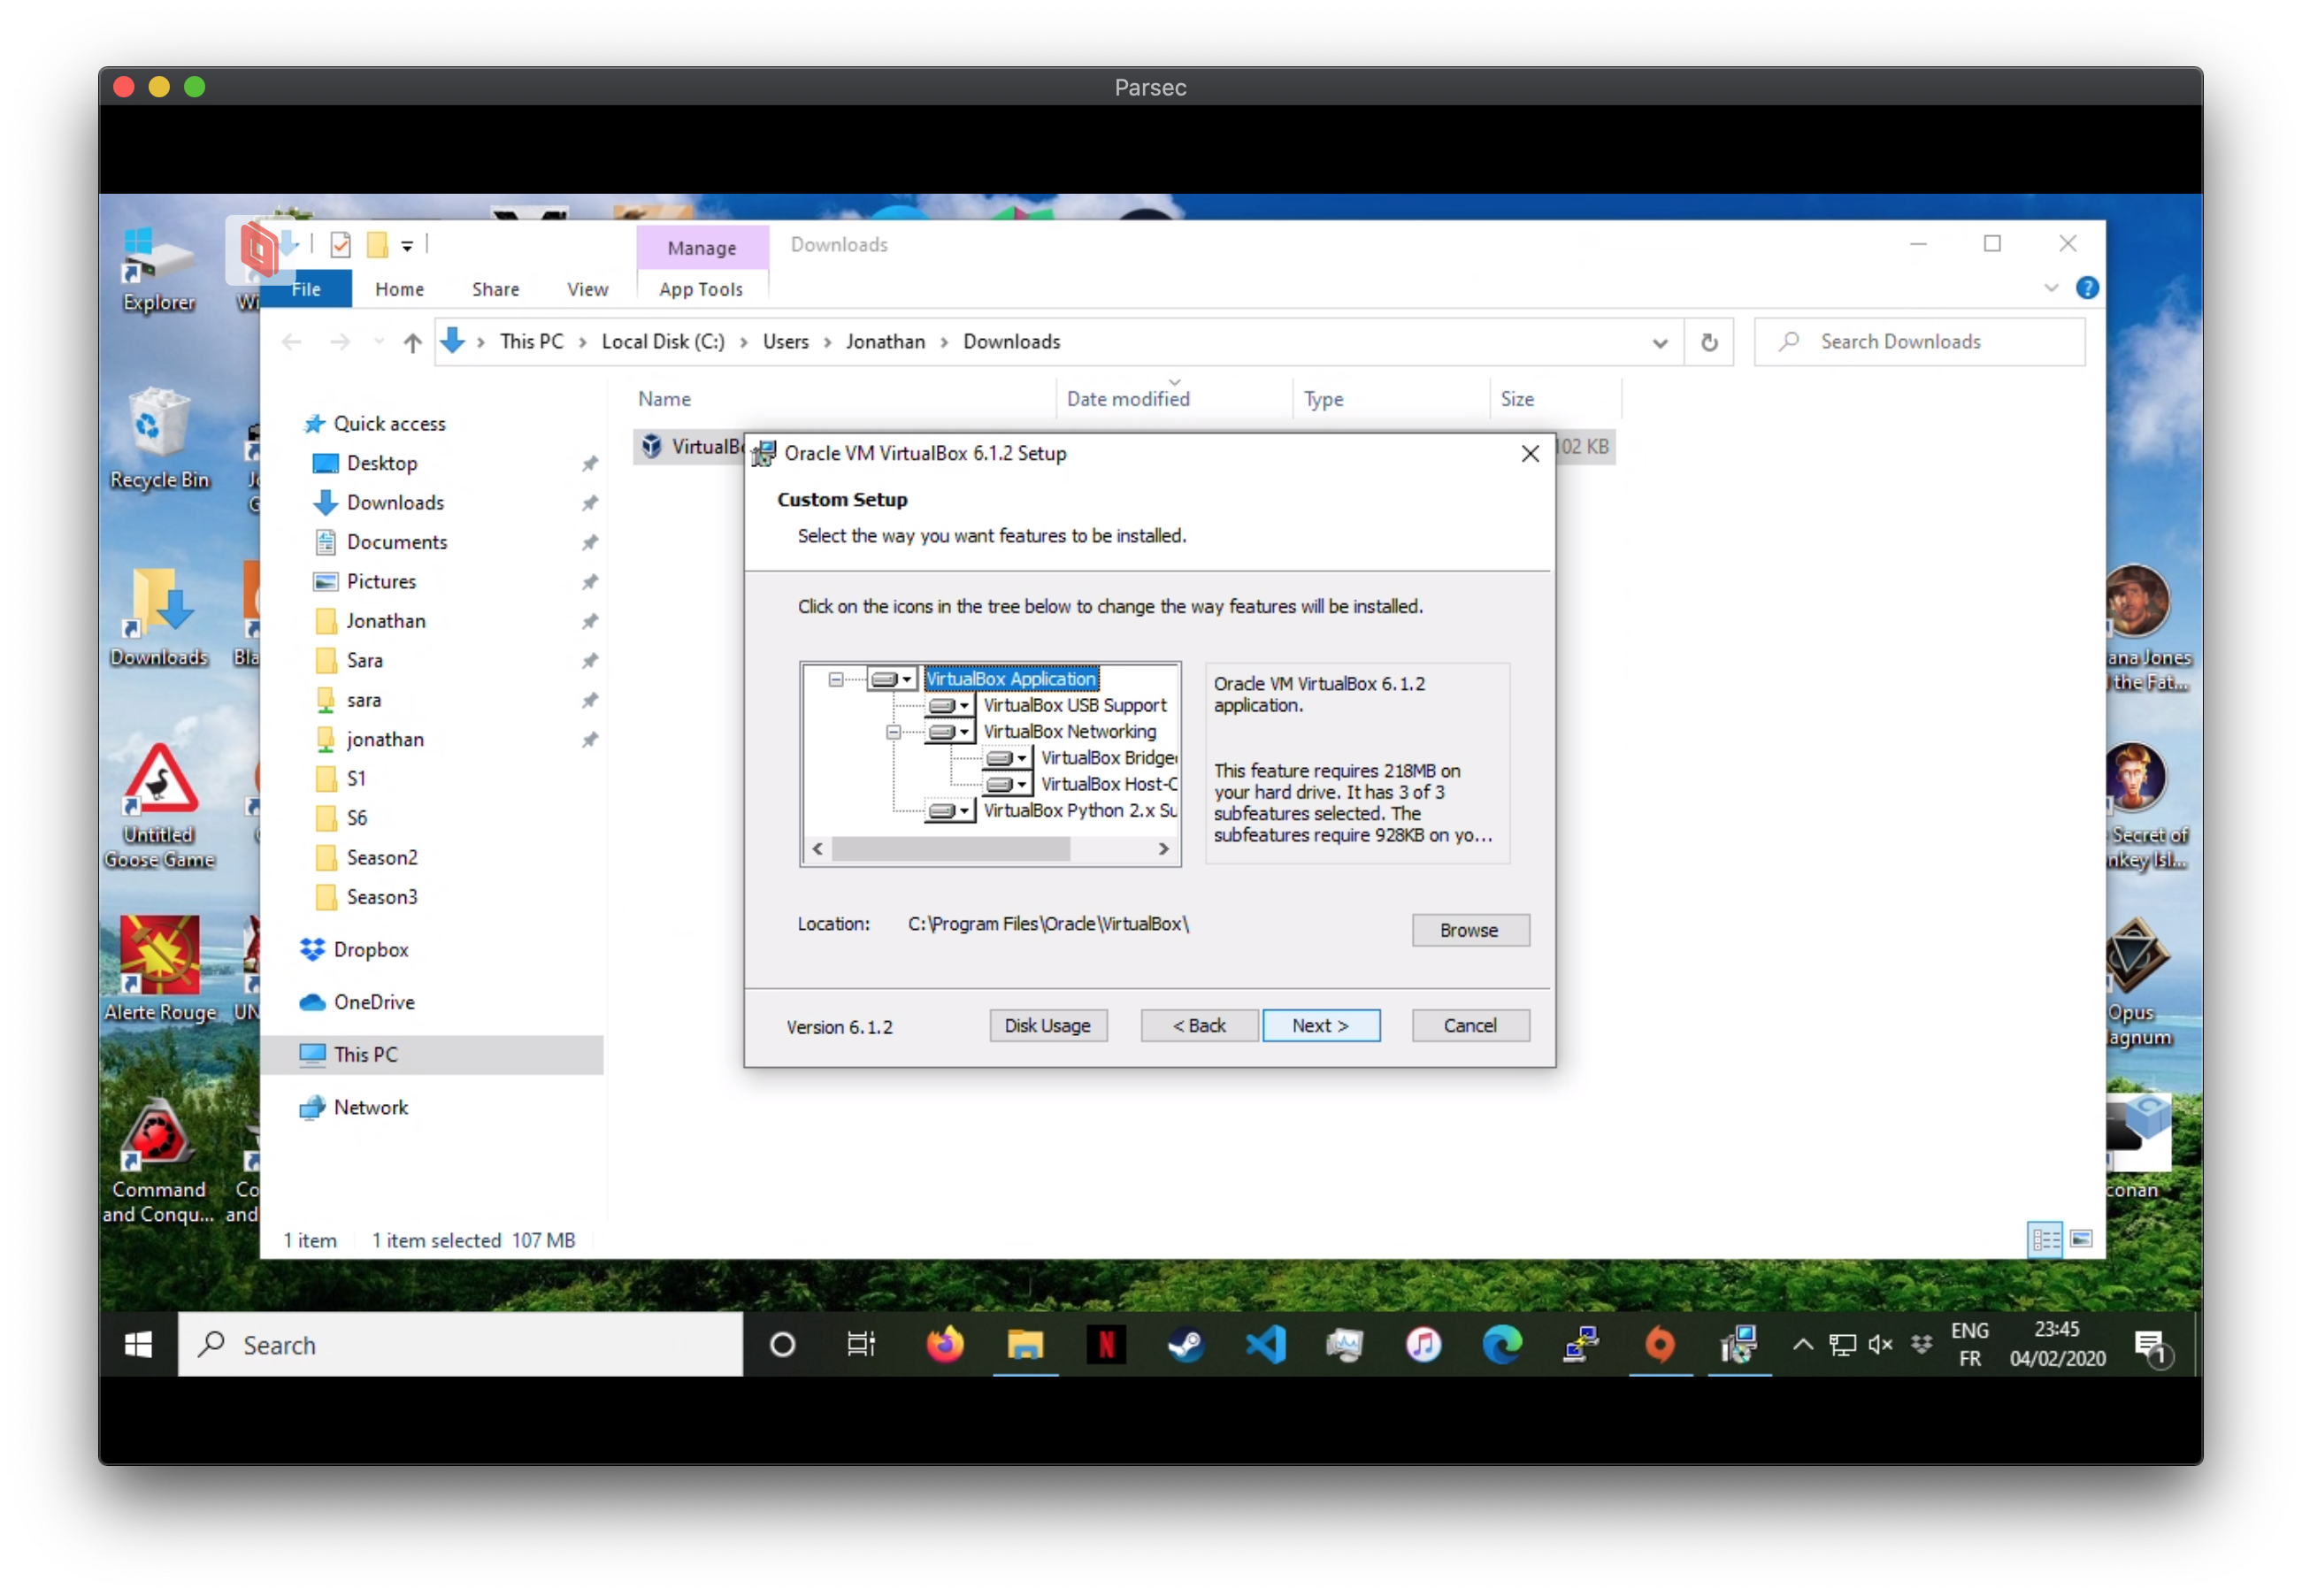
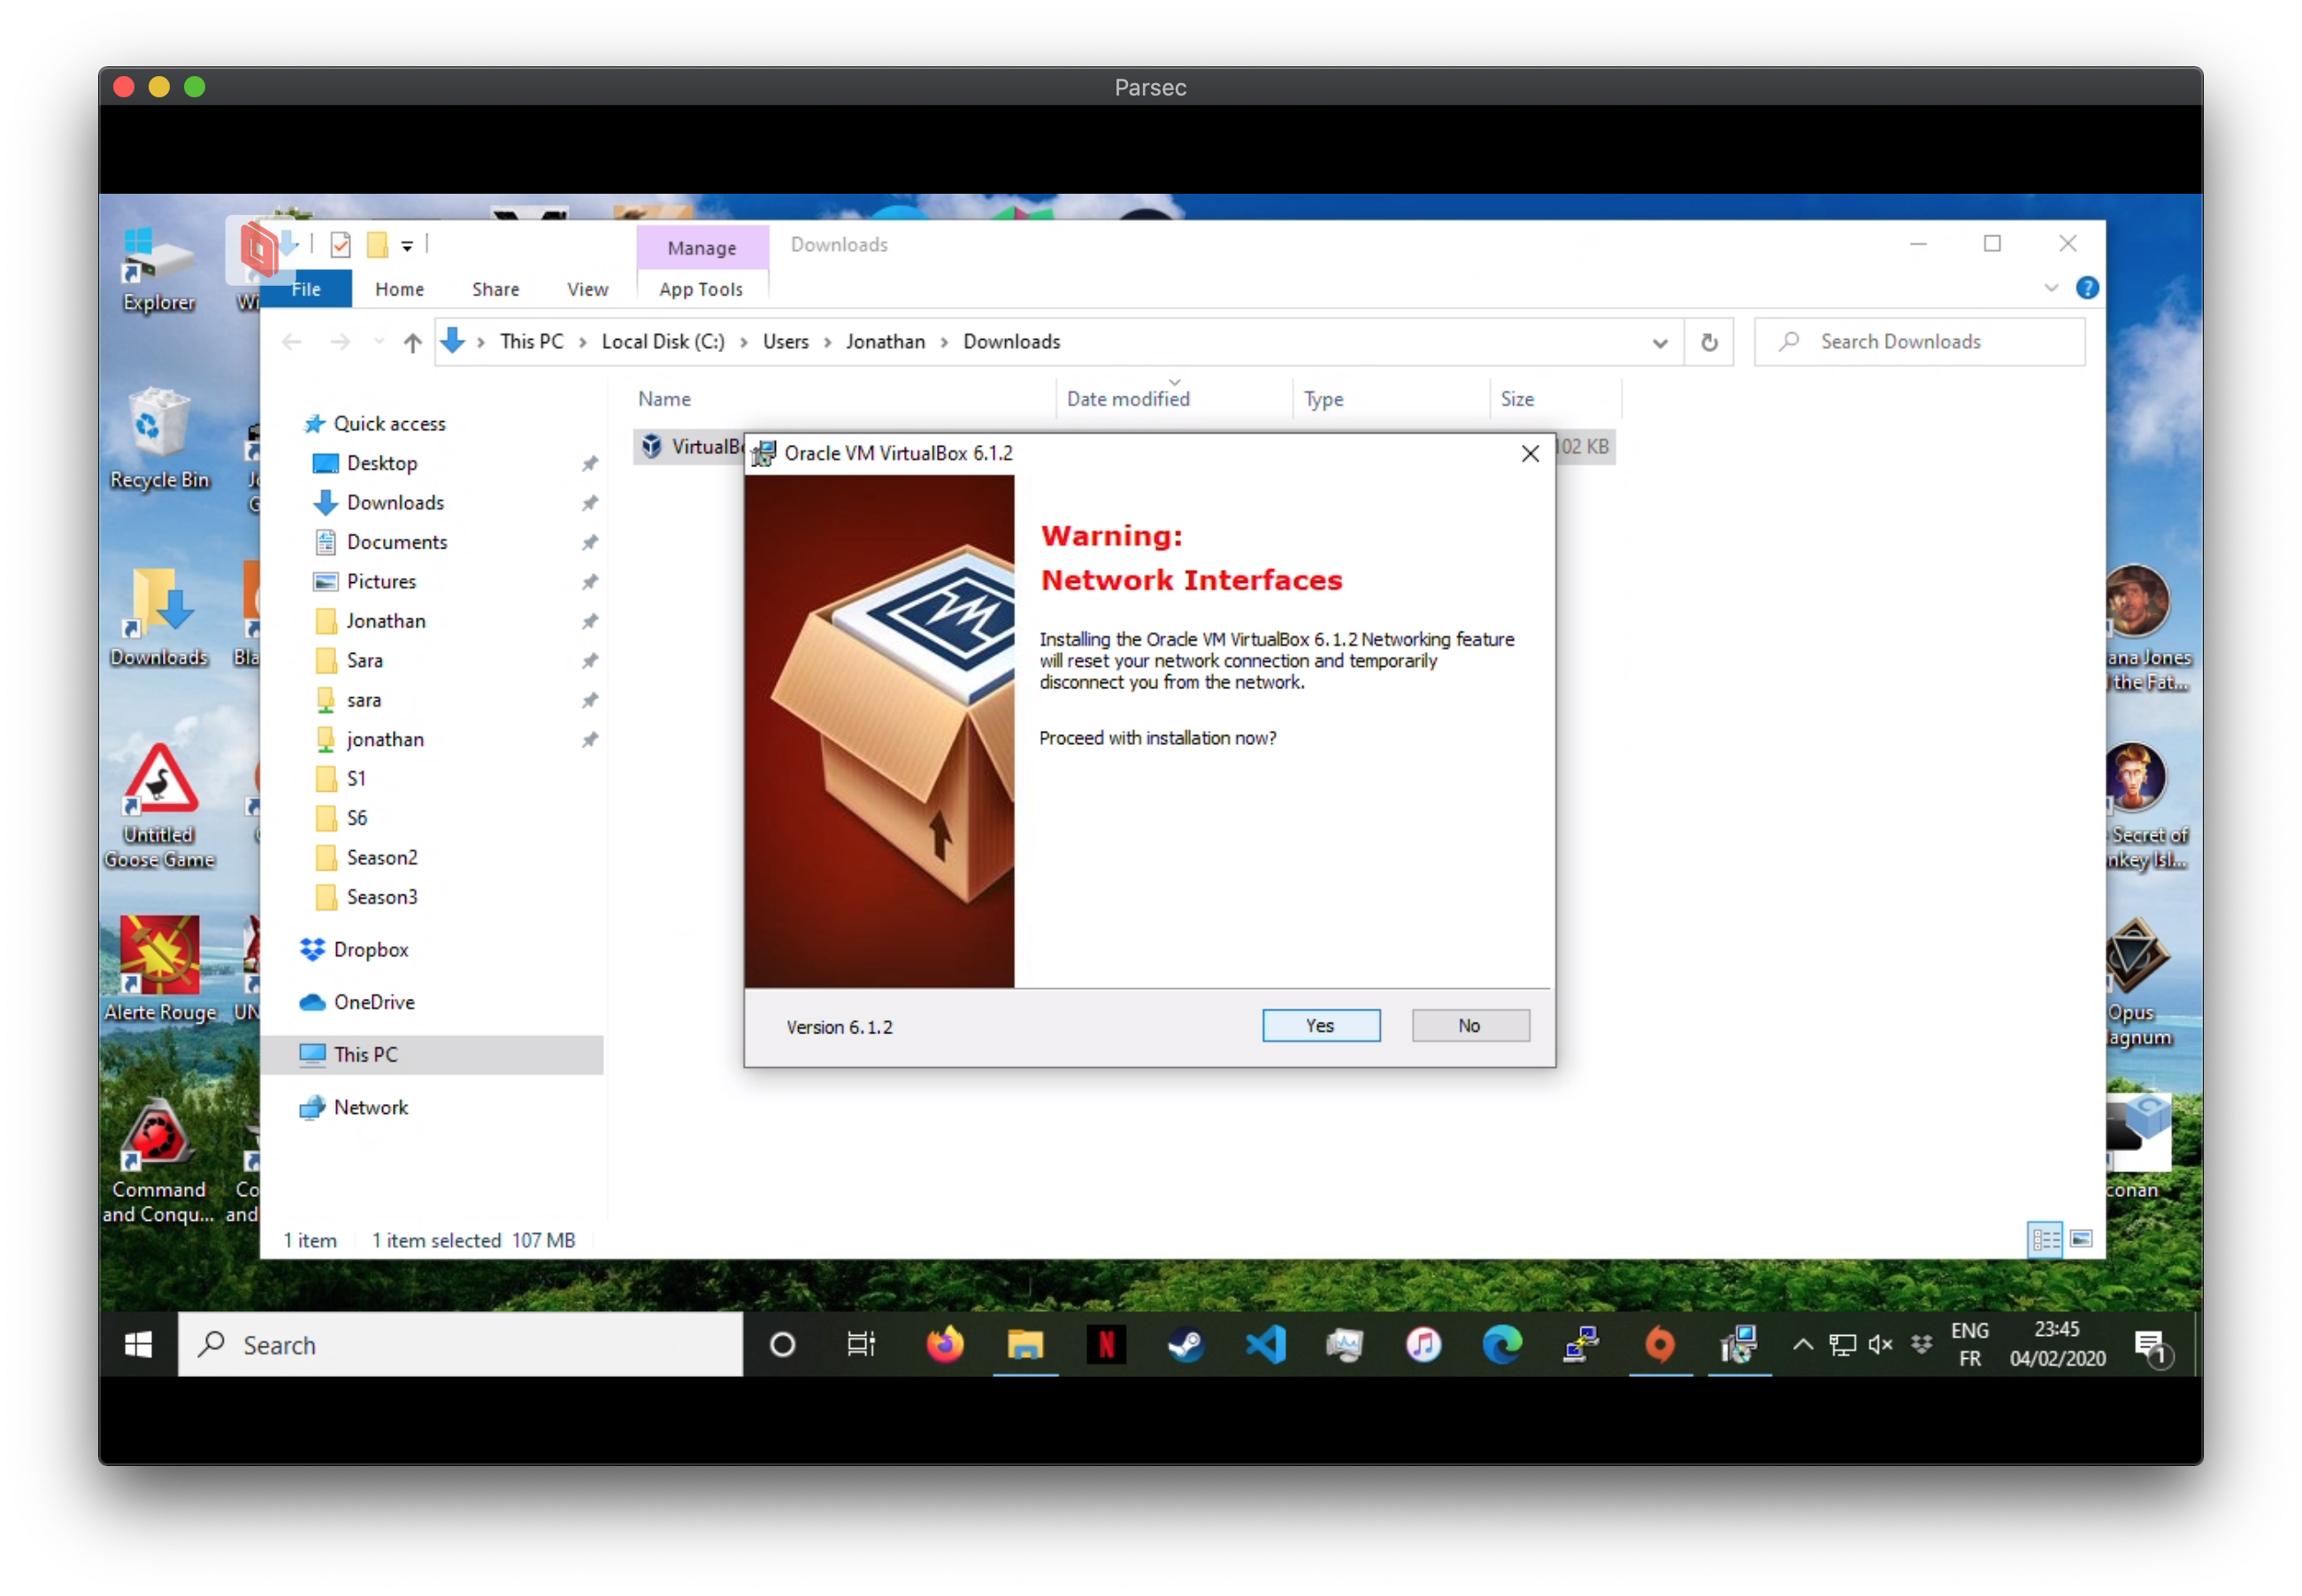
Installation of VirtualBox
Browse to the Download virtual box page, click on the link corresponding to your Operating System and proceed with the installation.

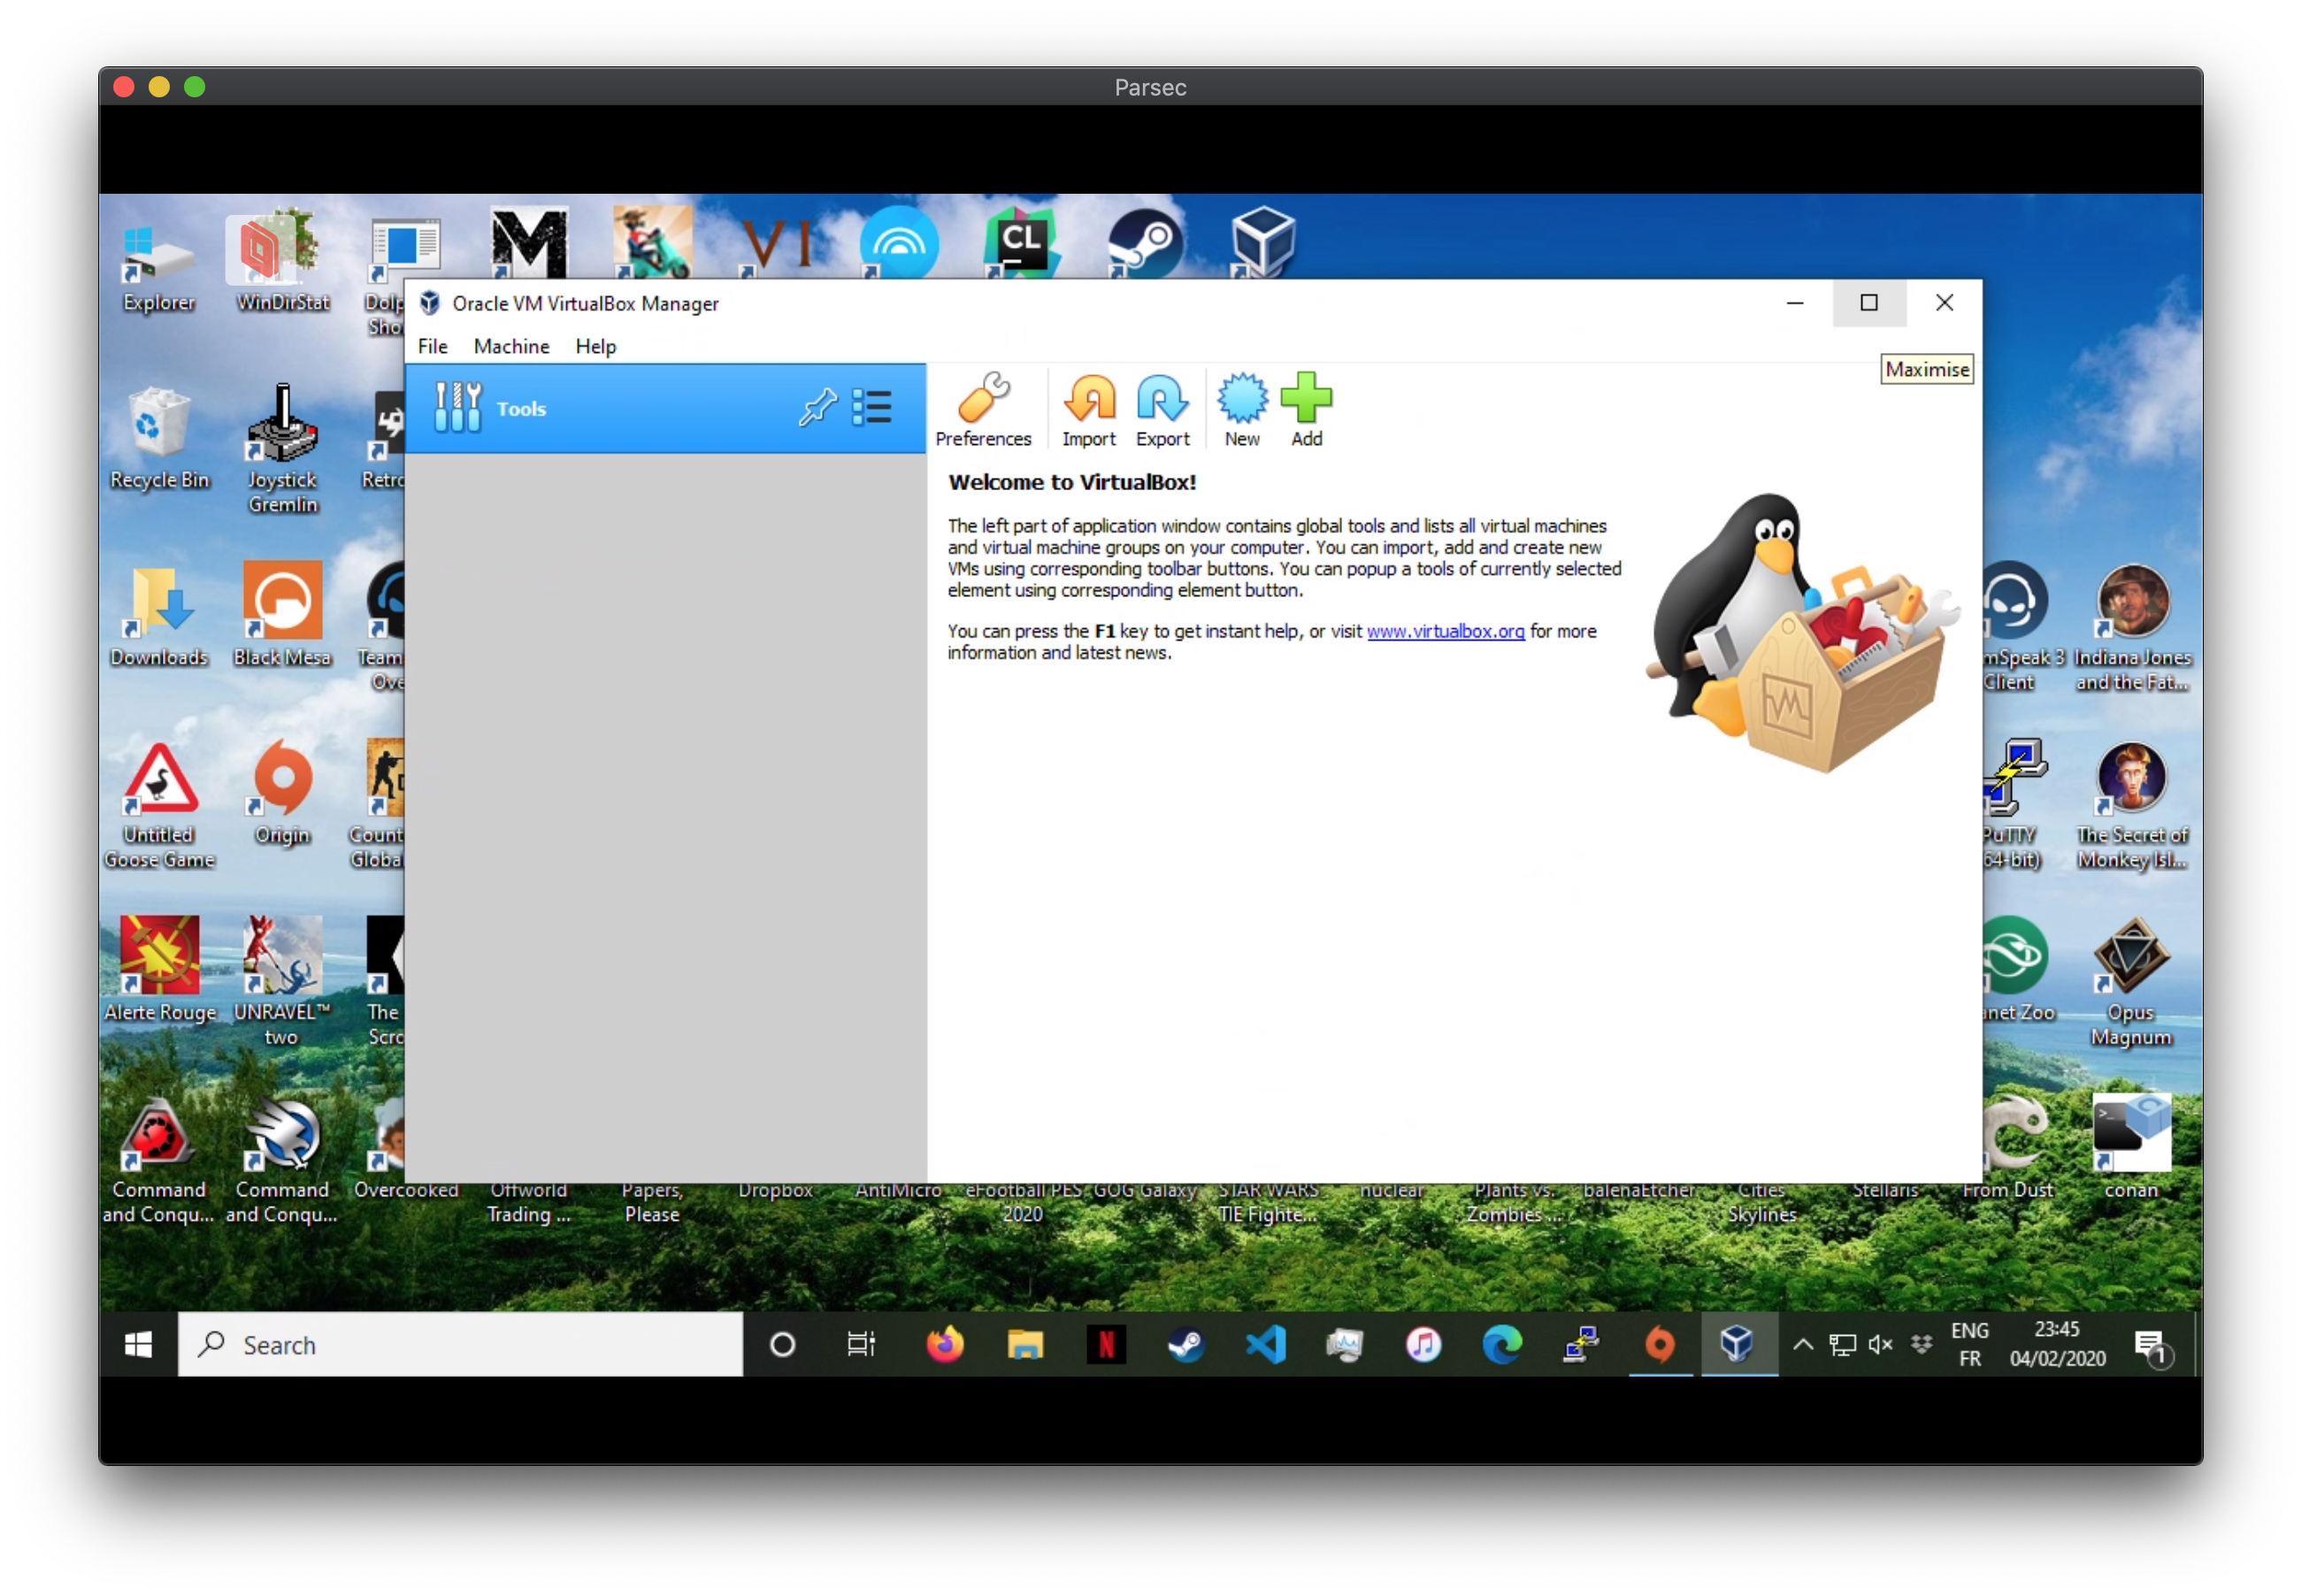
Once installed, launch VirtualBox. You should get something similar to the screenshot below:
Importing a virtual machine with VirtualBox
Ask the teacher for a flash drive that contains an exported version of the virtual machine that will be used for the practical session.
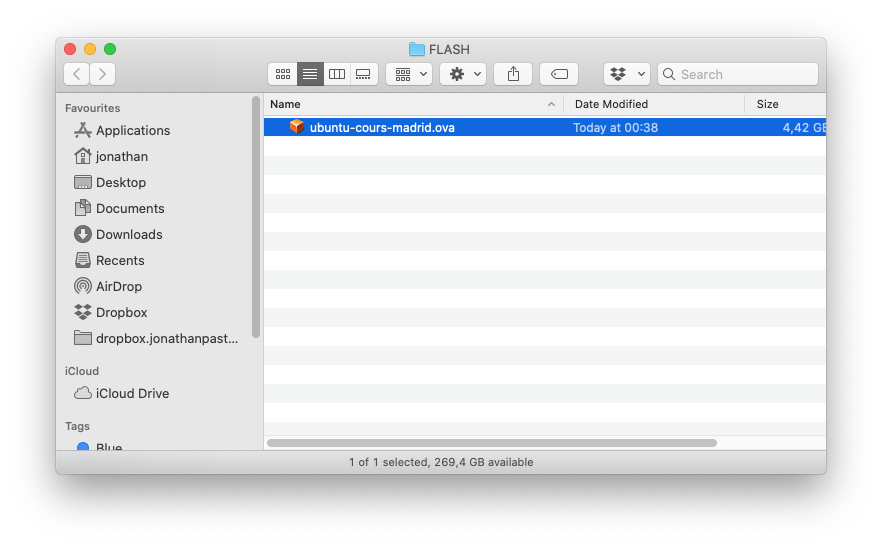
Double click on the ubuntu_cours_madrid.ova file, VirtualBox should display a screen as follow:

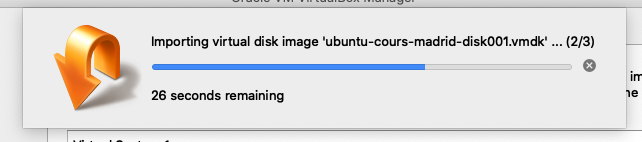
Confirm the import of the virtual machine. And wait until the virtual machine is imported.
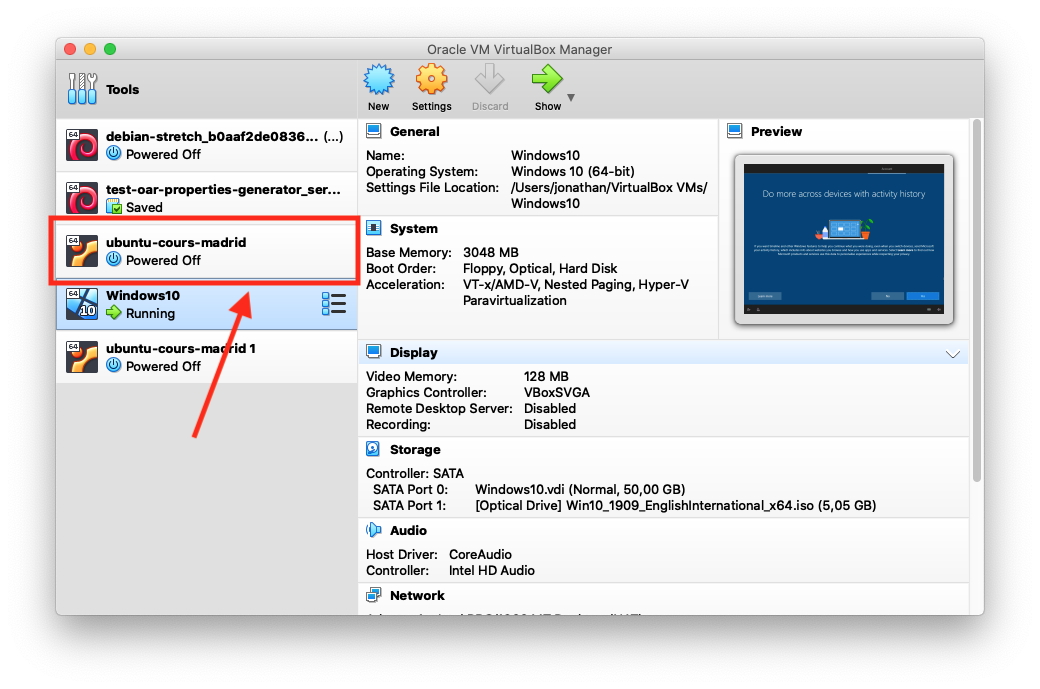
Once the import is finished, the virtual machine should appear in VirtualBox:
Common operations with virtual machines
Configuring the VM network
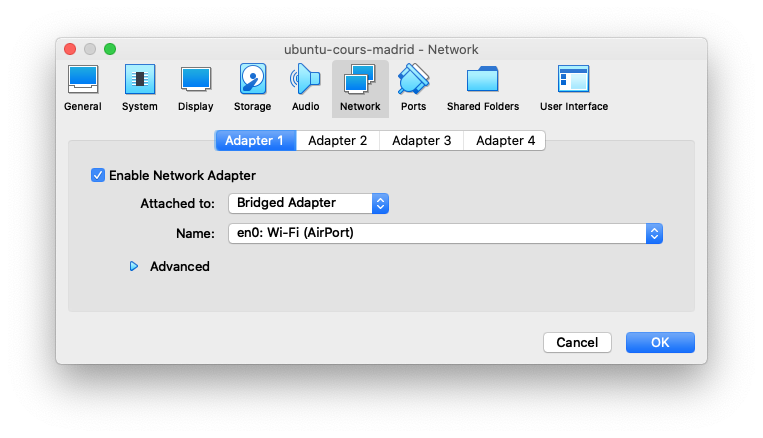
Access the properties of the VM, and configure a network interface as follow:
- Enable Network Adapter: checked
- Attached to: Bridged adapter
- Name: Select the main network interface of your computer (wifi)
- Advanced properties: Reset the mac address by clicking on the
Generate a new random mac addressicon, as in the following screenshot:
And click on OK
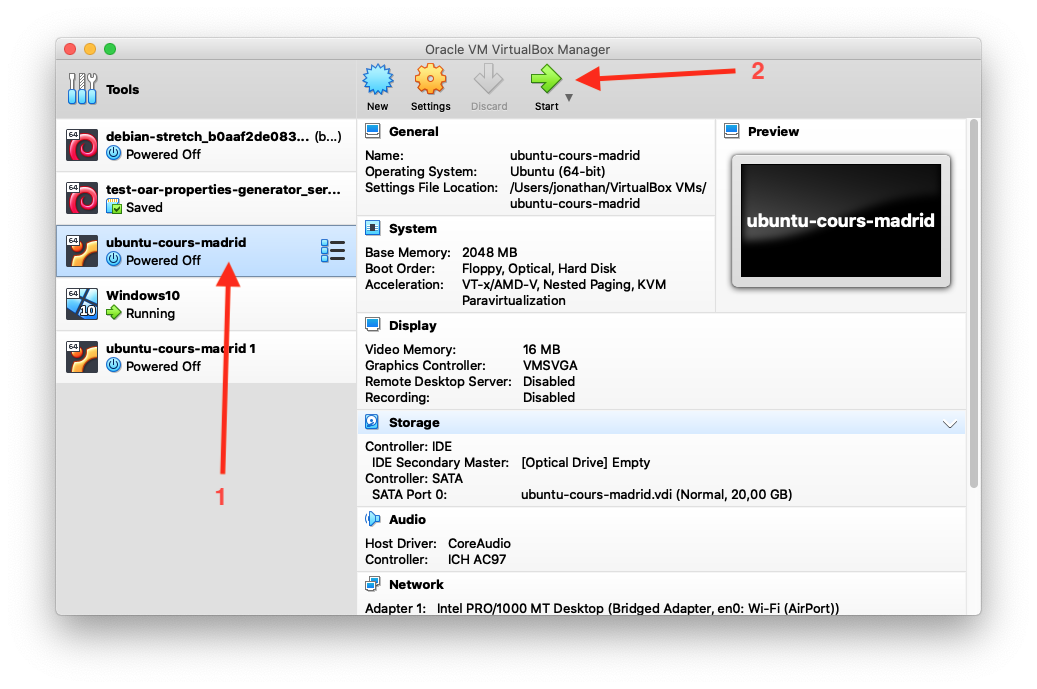
Start / Restart / Suspend
Click on the ubuntu_cours_madrid virtual machine and then click on the Start button, as in the following screenshot:
A new window depicting the output of the virtual machine should appear: the virtual machine is booting up: 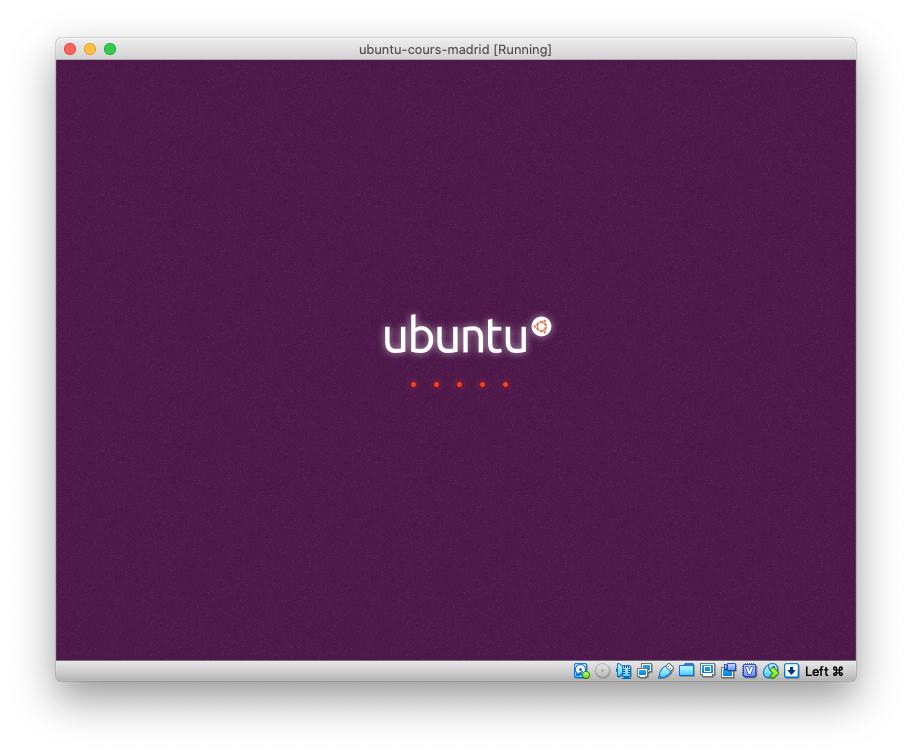
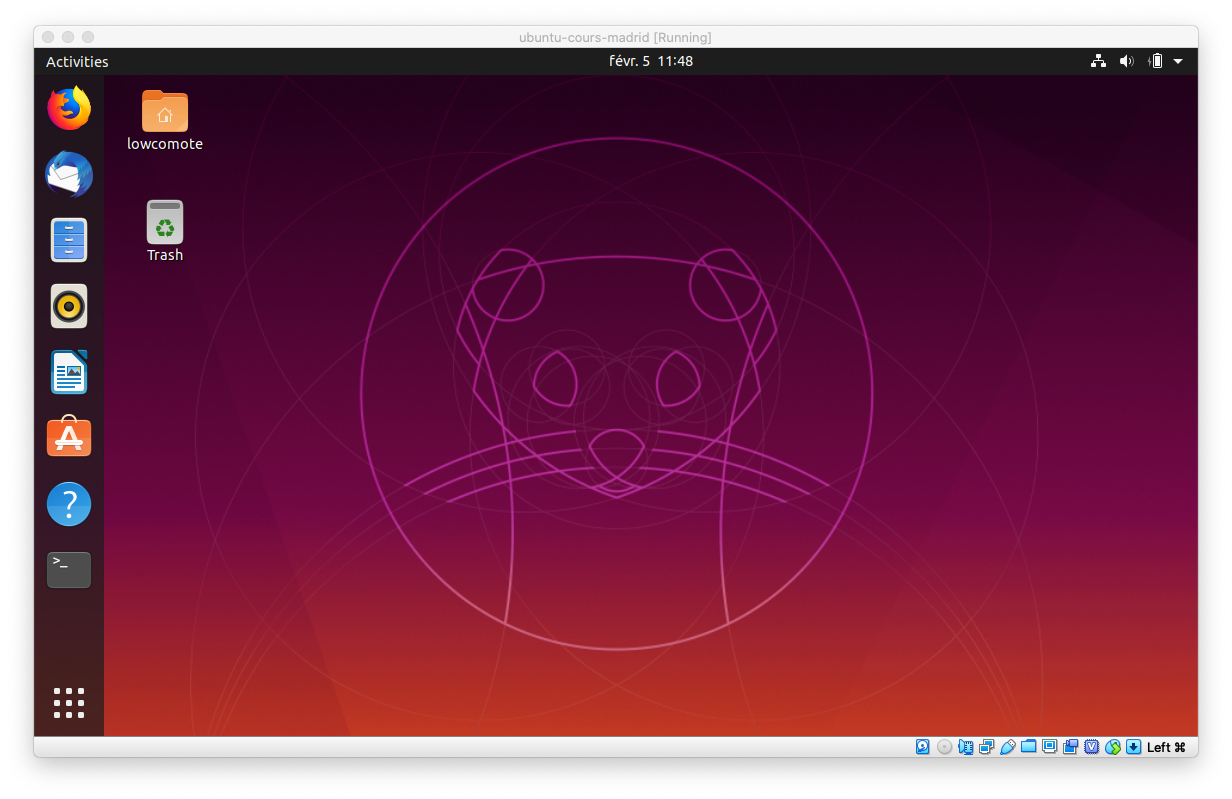
Once booted, you can interract with the virtual machine as it was a classic computer.
Configure a shared folder between an host and the VM
To ease the practical session, we will now configure a shared folder between the virtual machine and the physical host. The idea behind a shared folder is that any file written by a host in the shared folder, will be seen by the other host.
To create a shared folder, on the preferences of VirtualBox click on the “Shared Folders” tab and configure a new shared folder as in the following screenshot:
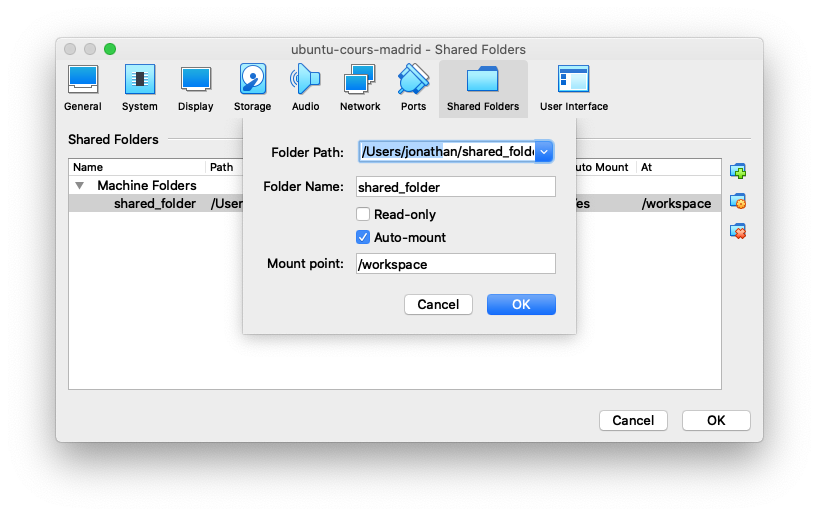
Use the following parameters:
- Folder path: a folder on your computer. Here are valid examples of shared folders:
- In Linux it may be something like
/home/<username>/shared_folder. - In macOS it may be something like
/Users/<username>/shared_folder. - In windows it may be
C:/shared_folder.
- In Linux it may be something like
- Folder name: use the
shared_foldervalue - Automount: select this option to ensure that the shared folder is activated when the virtual machine is run.
- Mount Point: use
/home/lowcomote/workspace.