Getting started with PuTTY, an opensource SSH client for windows
Download PuTTY
Browse to https://www.putty.org/ and find a link to download the PuTTY binary for your version of windows. You may directly download a 32 bit version here. Once downloaded, proceed with the instructions below.
Installation
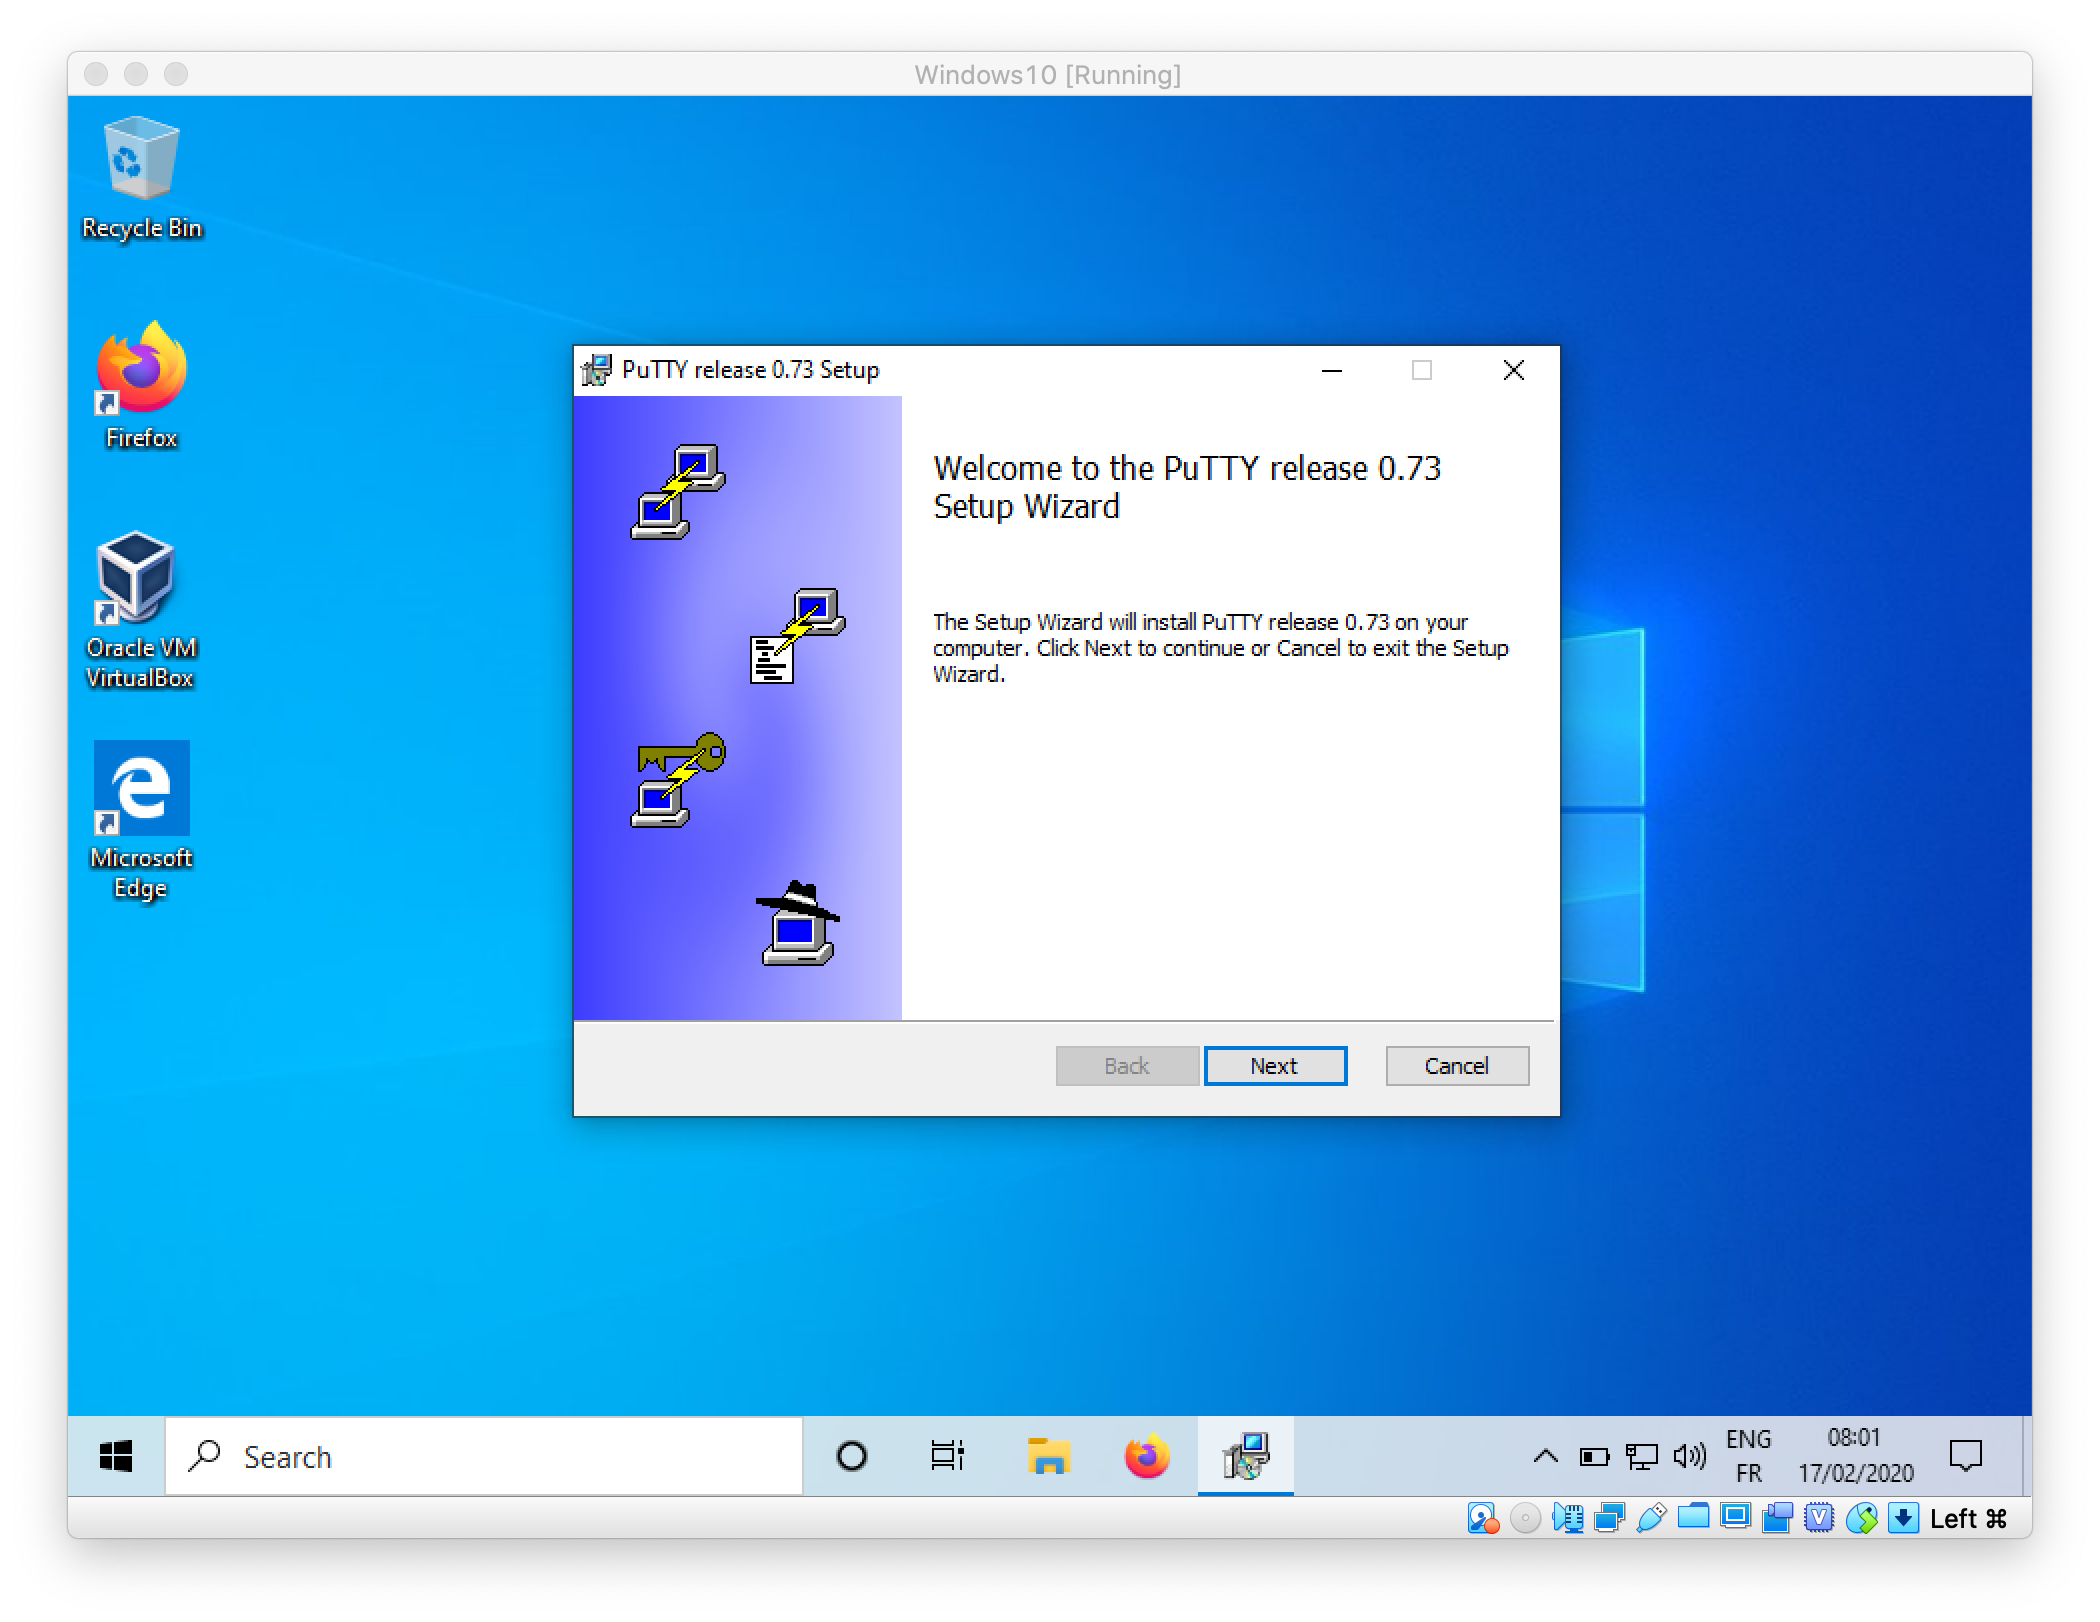
Start the installer, and proceed with the default settings.

Testing the connection
Now open PuTTY, you should land on the following screen: 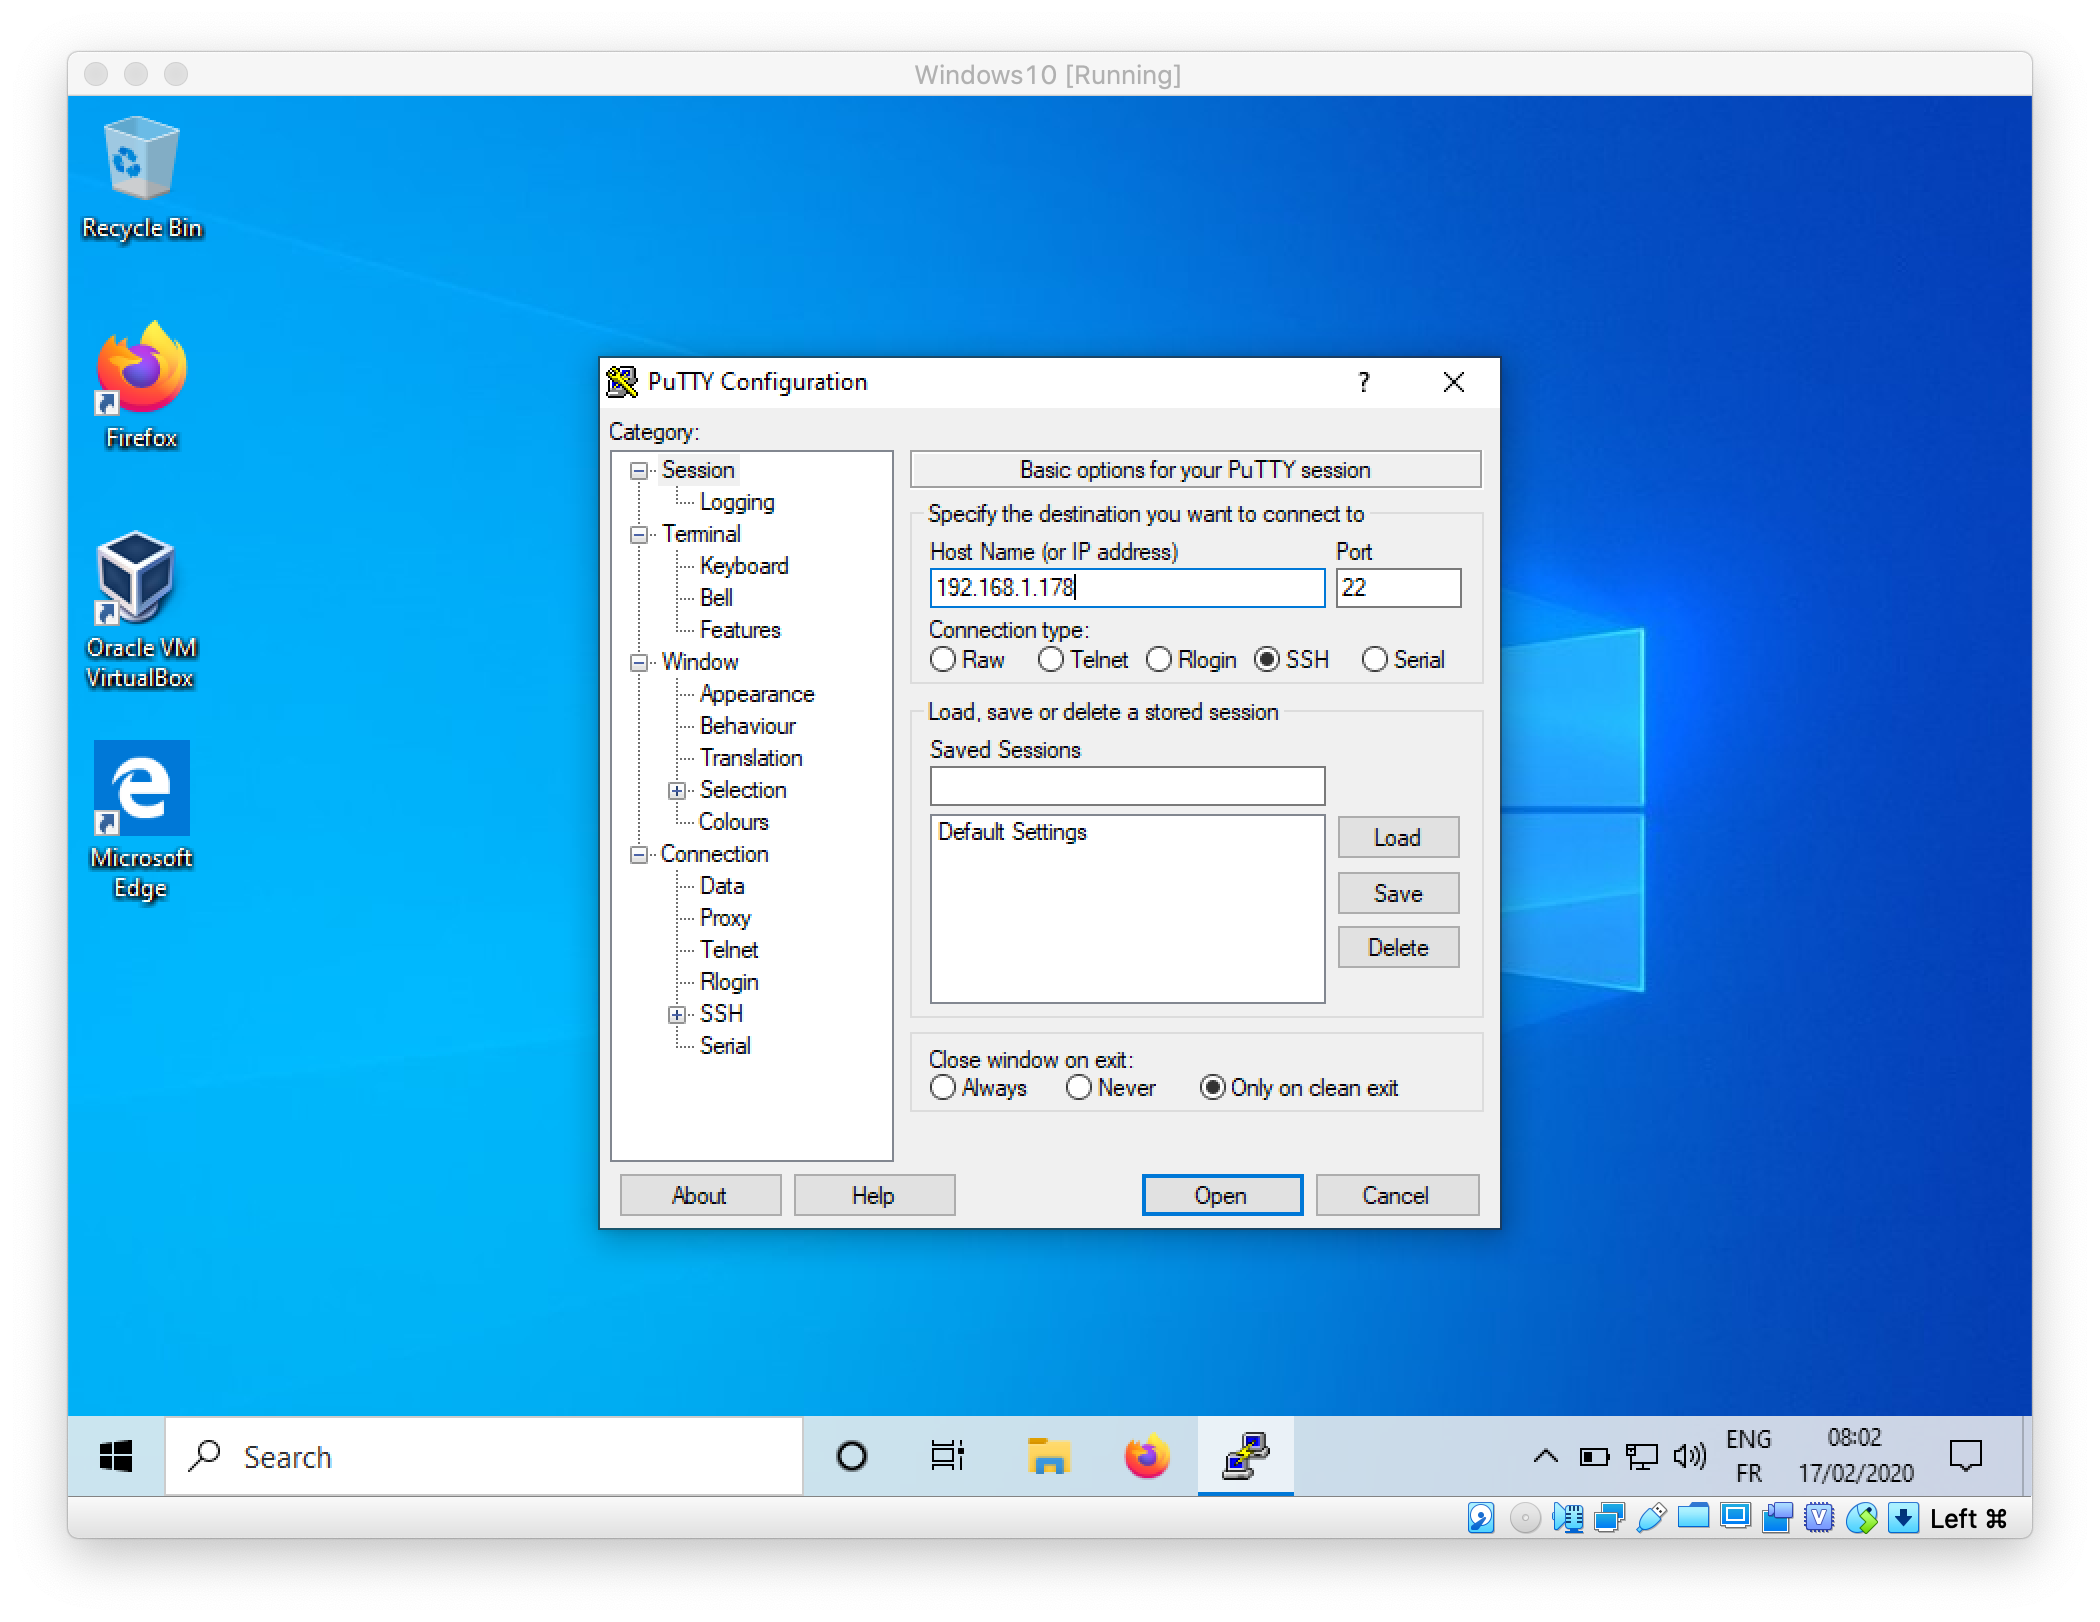
Enter the IP address of the VM you are attempting to connect and click on Open. For the first connection, a screen will ask you to confirm that the details on the identification of the remote Host are correct, as follow: 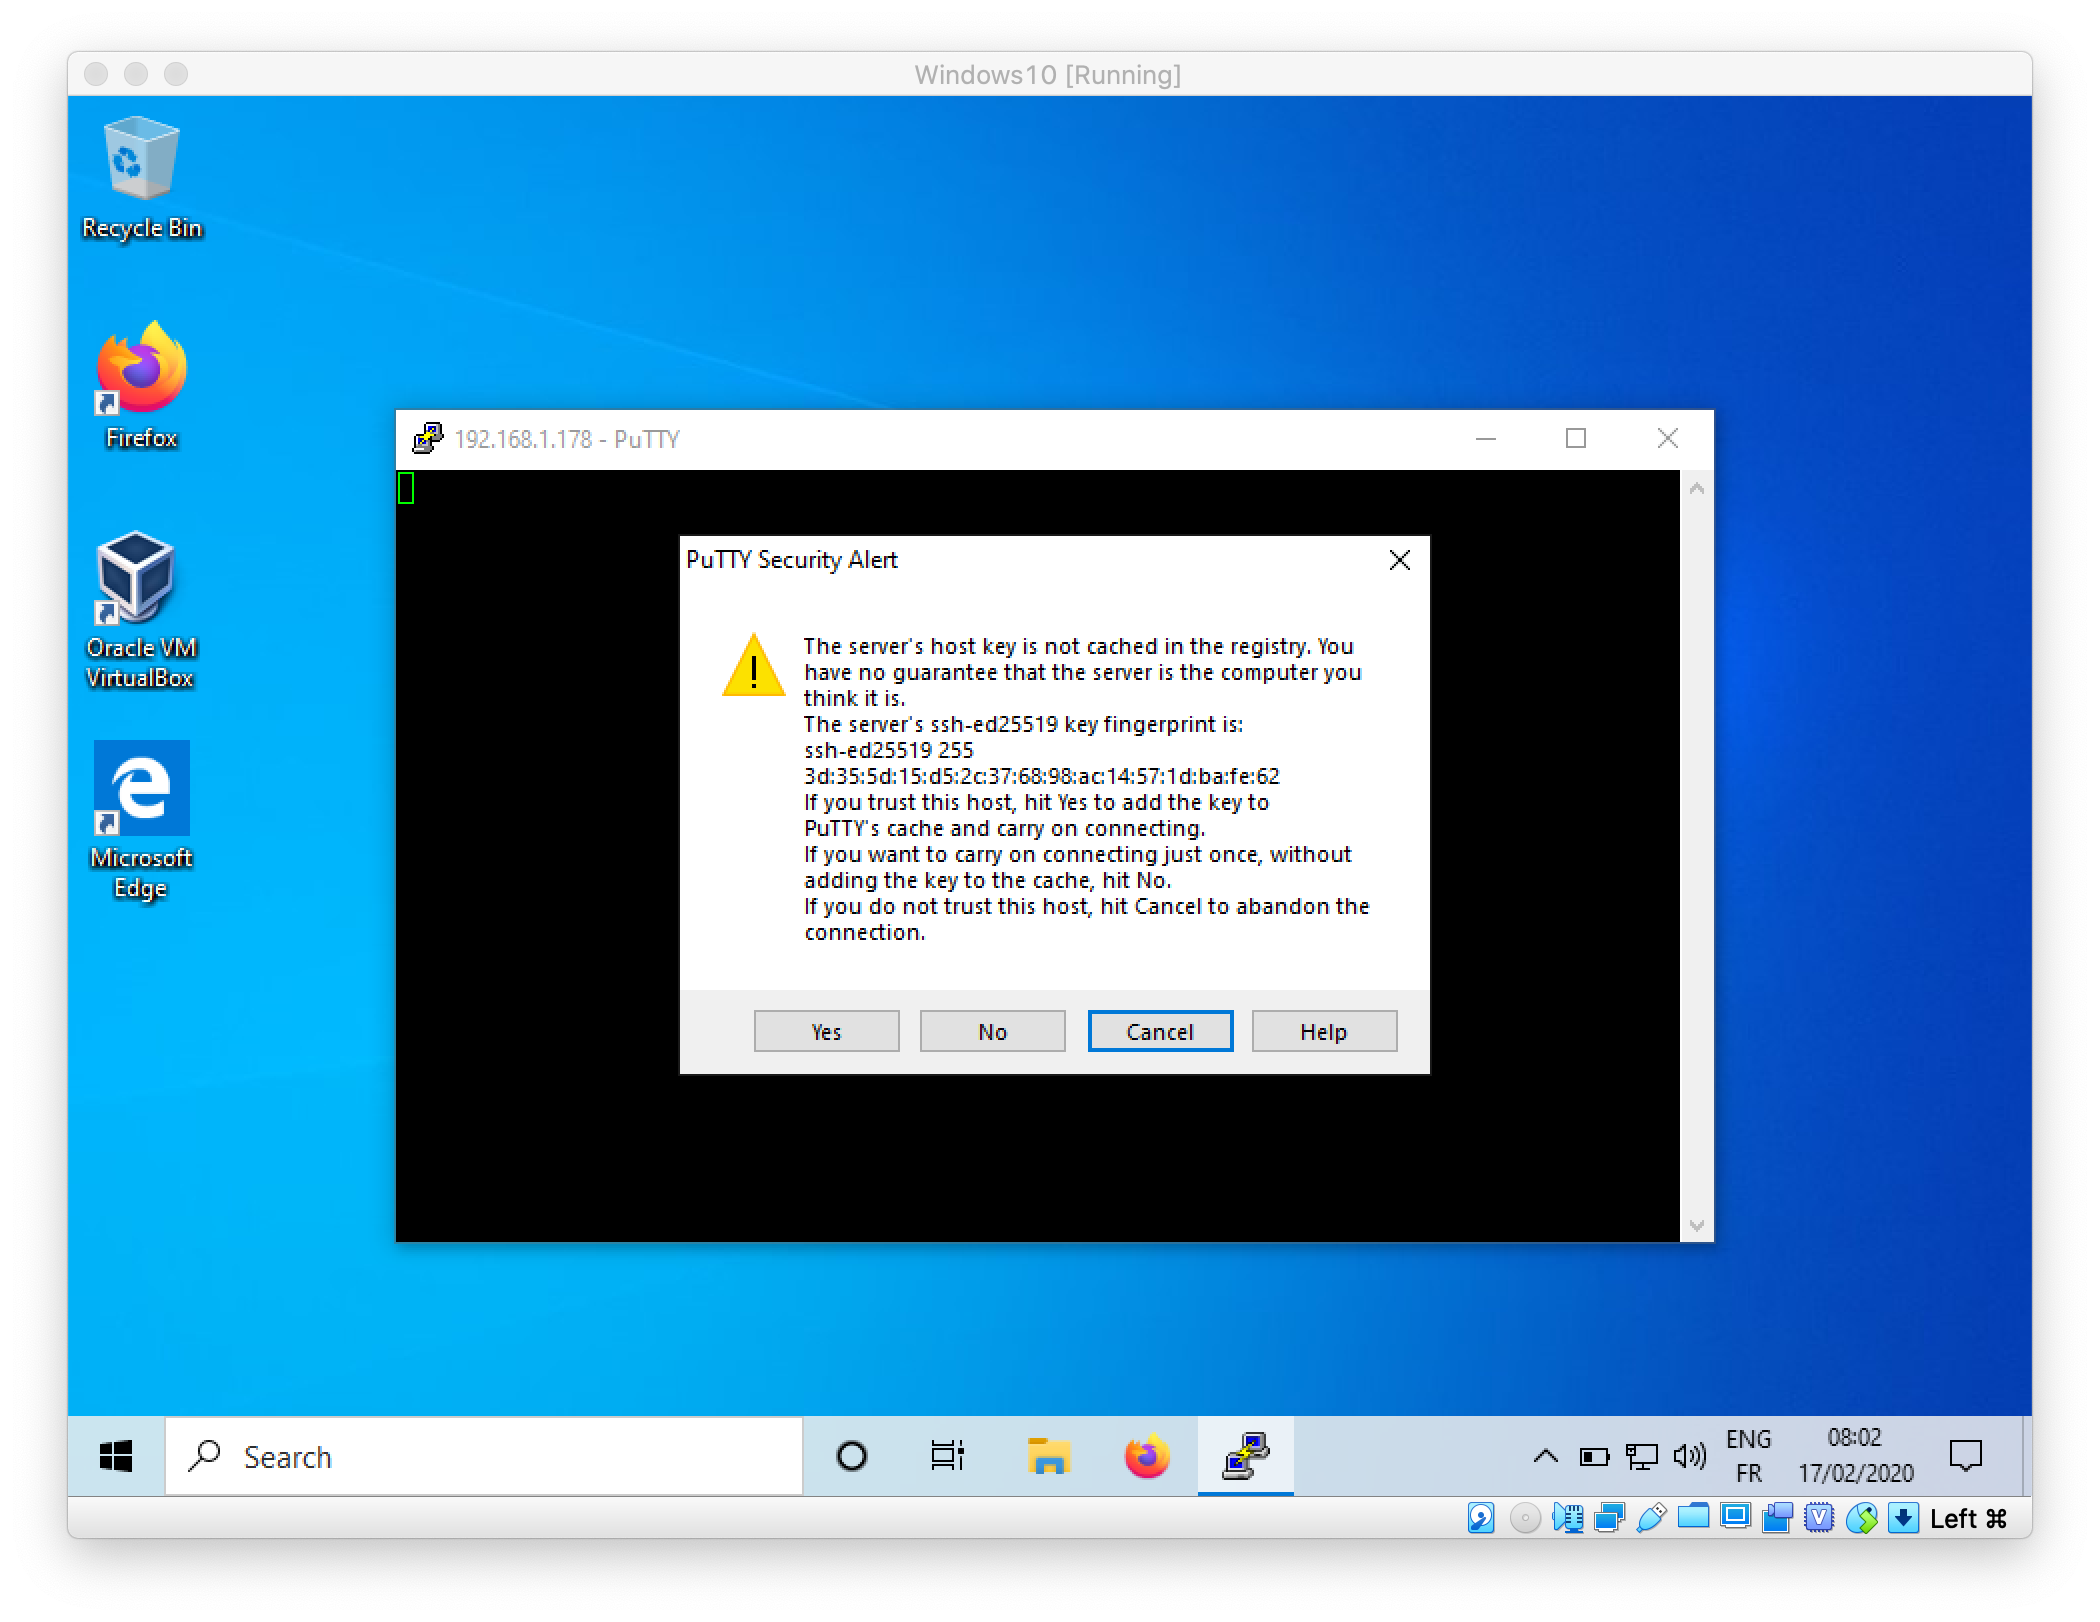
Confirm that the informations are correct by clicking on Yes. You should now land on a screen asking your credentials. For the VM configured in the context of this practical session, use the following credentials:
- username:
lowcomote - password:
password
Enter the credentials as in the following screenshot: 
You should now be connected and able to run commands on the virtual machine!