TP - Starting with Flask!
Implementing a view, interacting with user and inserting data in the database.
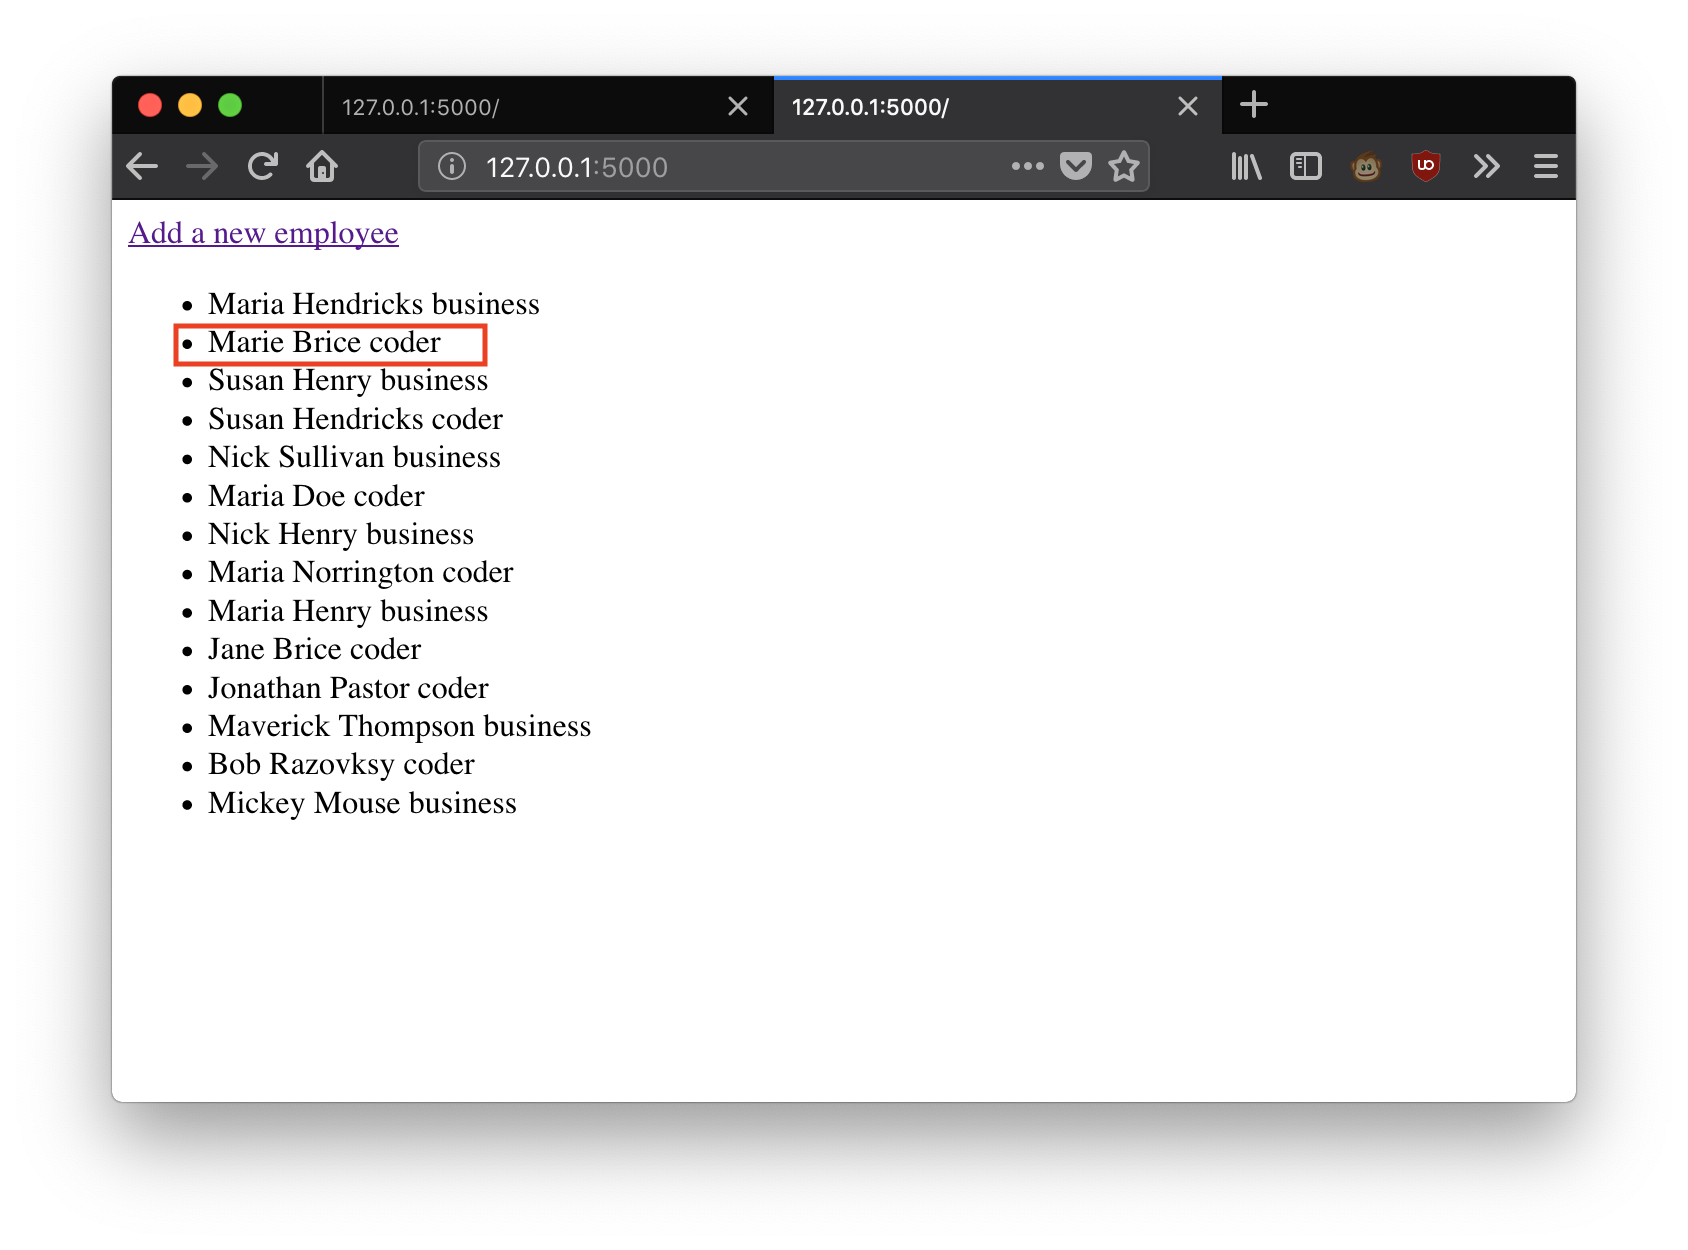
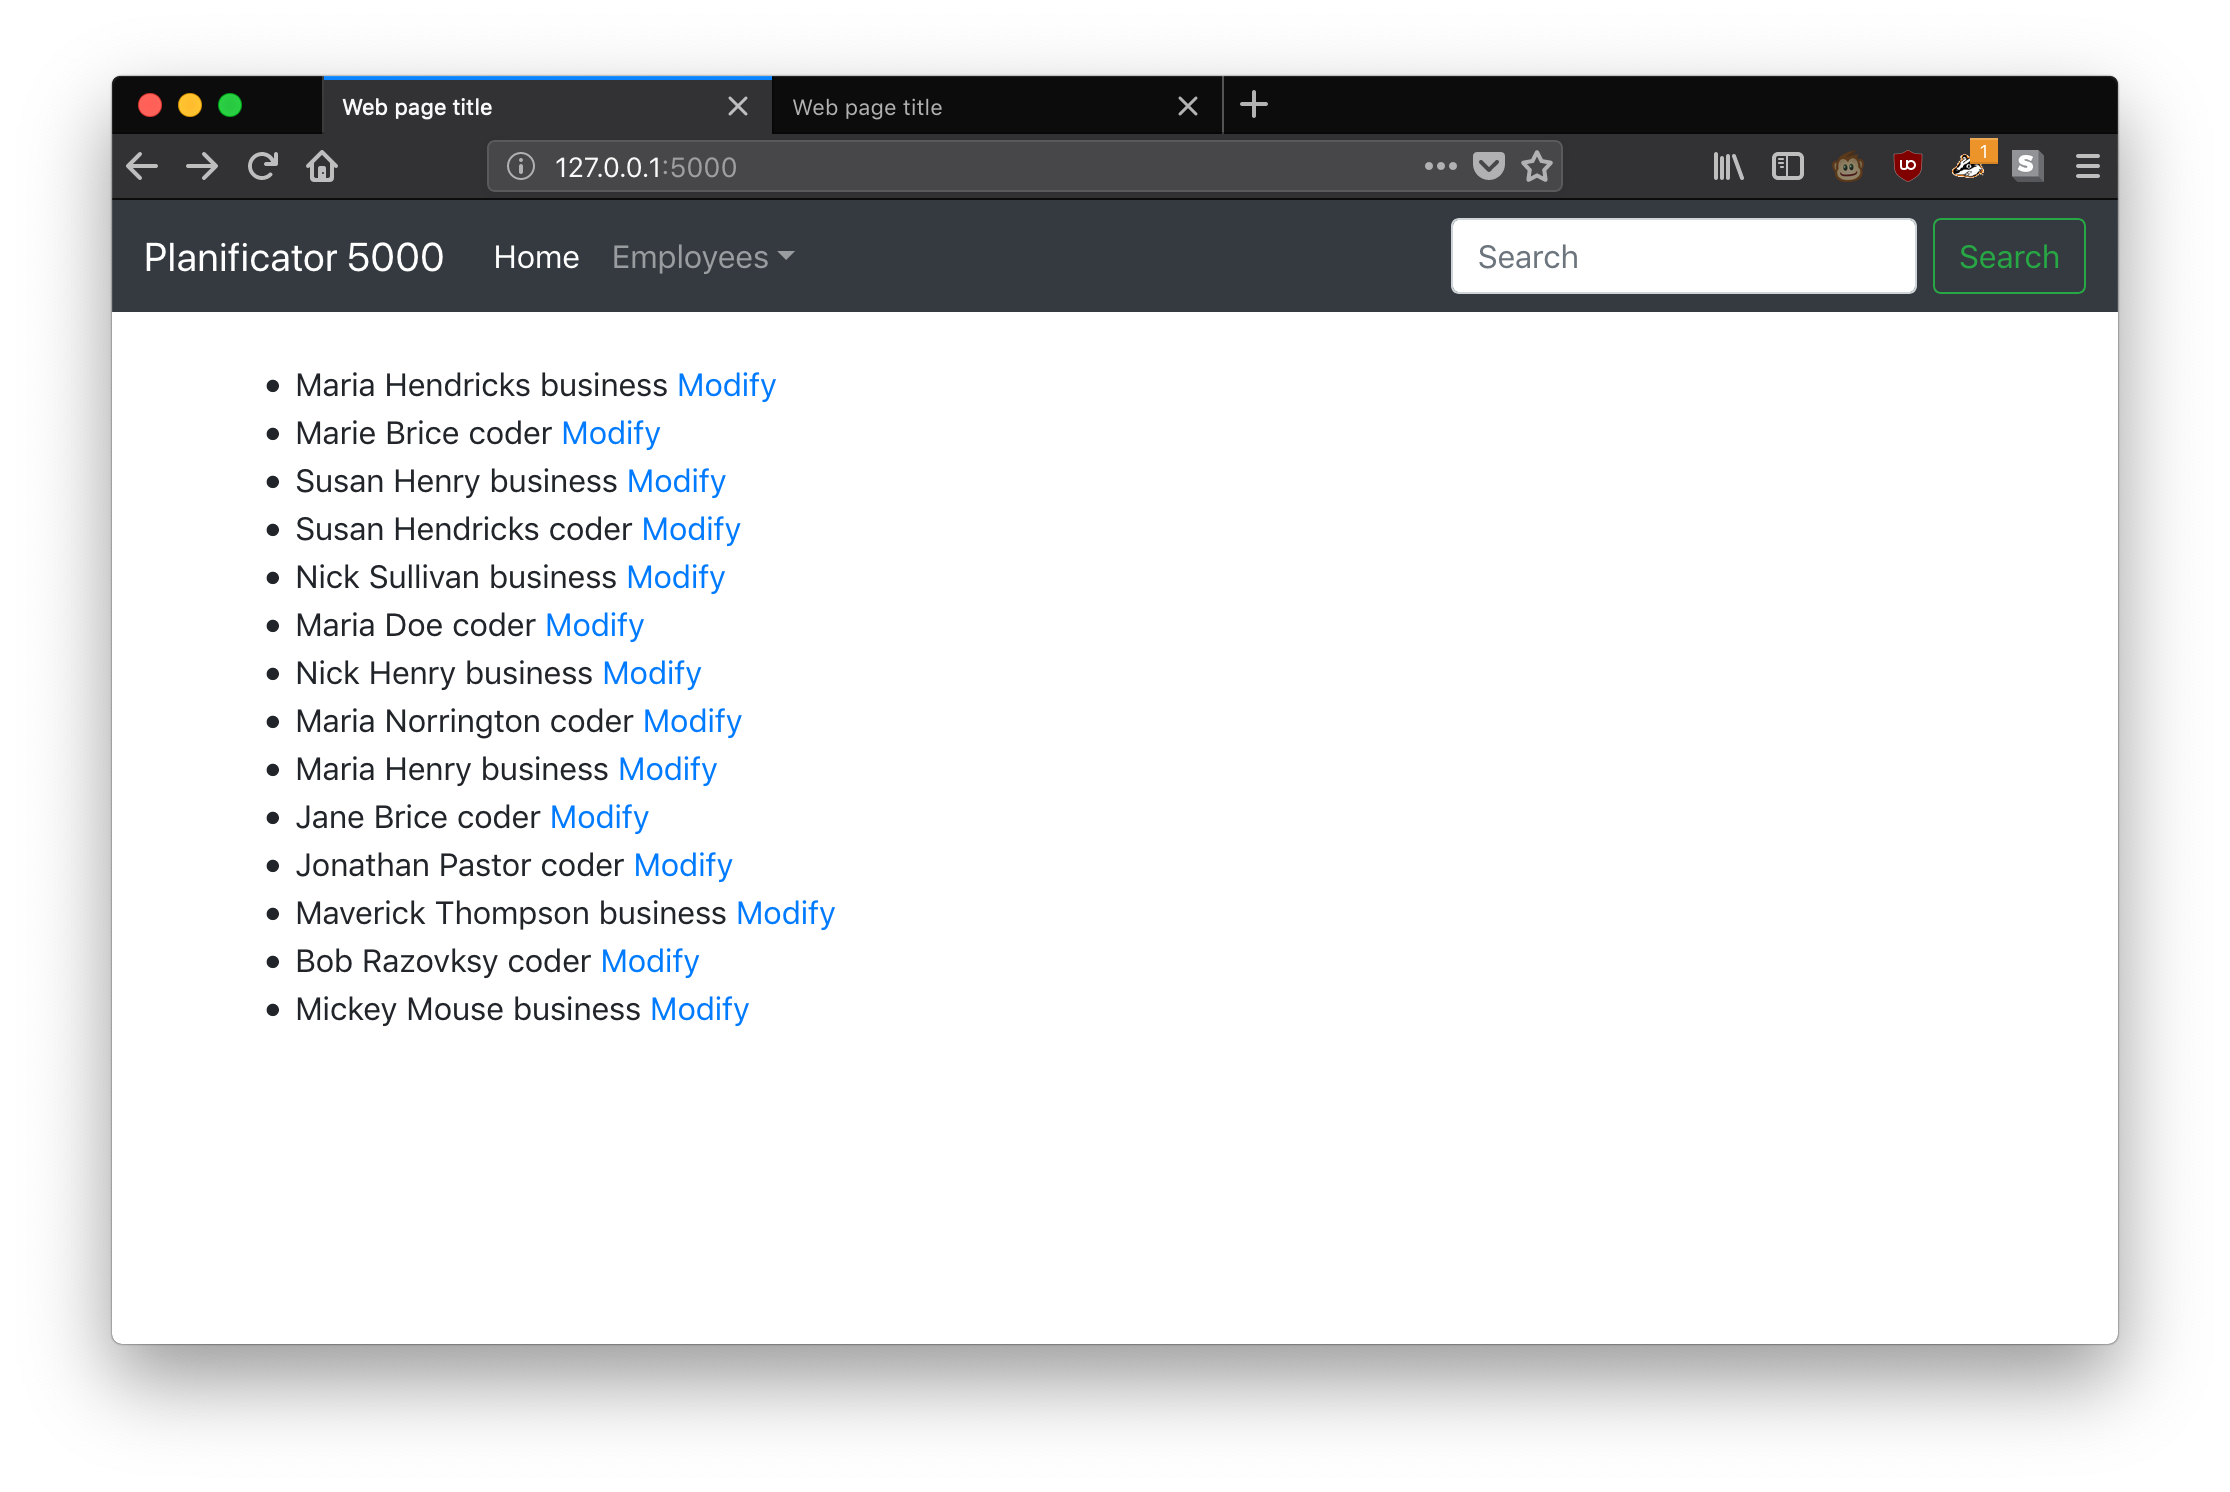
I- Displaying employees
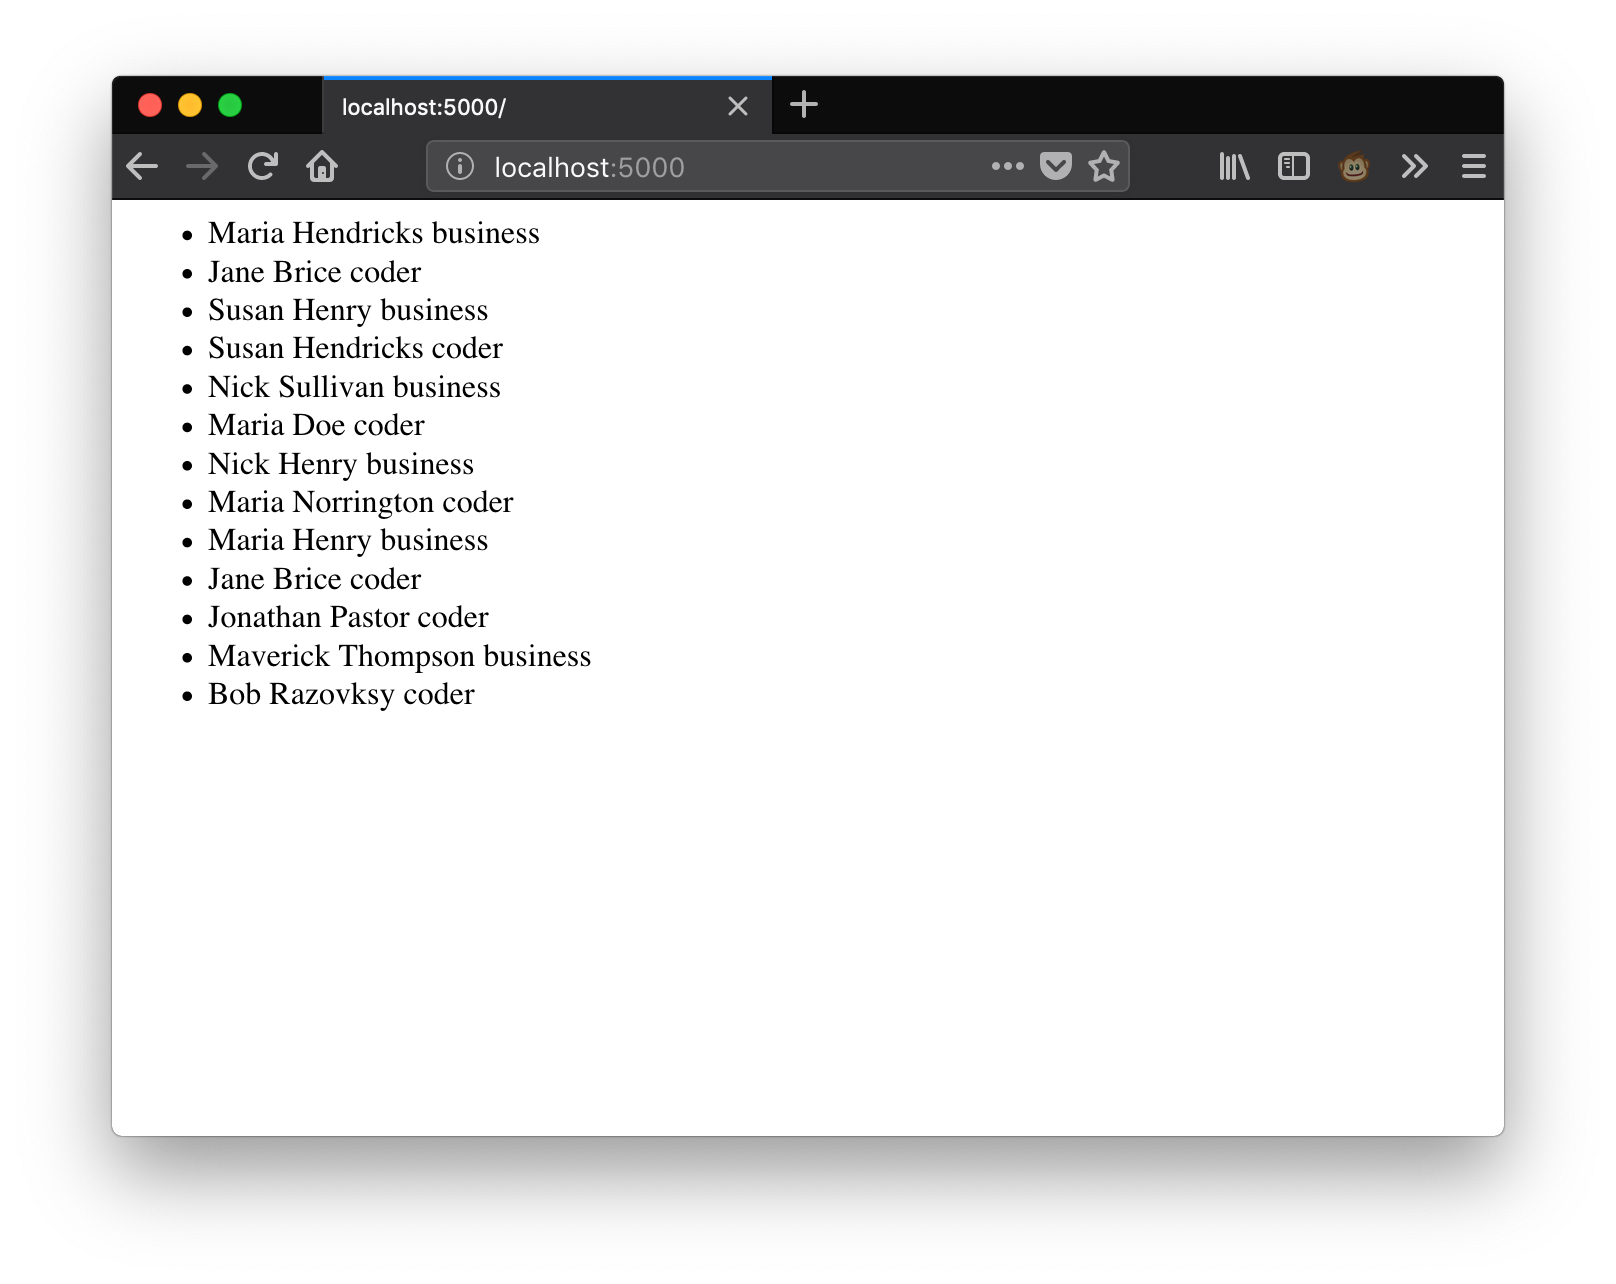
We are going to implement a view that displays the employees that are already in the test.db file. Use the following code:
And create a template templates/home.html.jinja2 with the following content:
Now, run the webapp.py script and access the URL of the web application http://127.0.0.1:5000. It should look like in the following screenshot:
II- Adding employees using a form
In this Section we are going to implement a form that enables to add new employees.
First, create a new template templates/employee_form.html.jinja2 wit the following content:
And create the corresponding method:
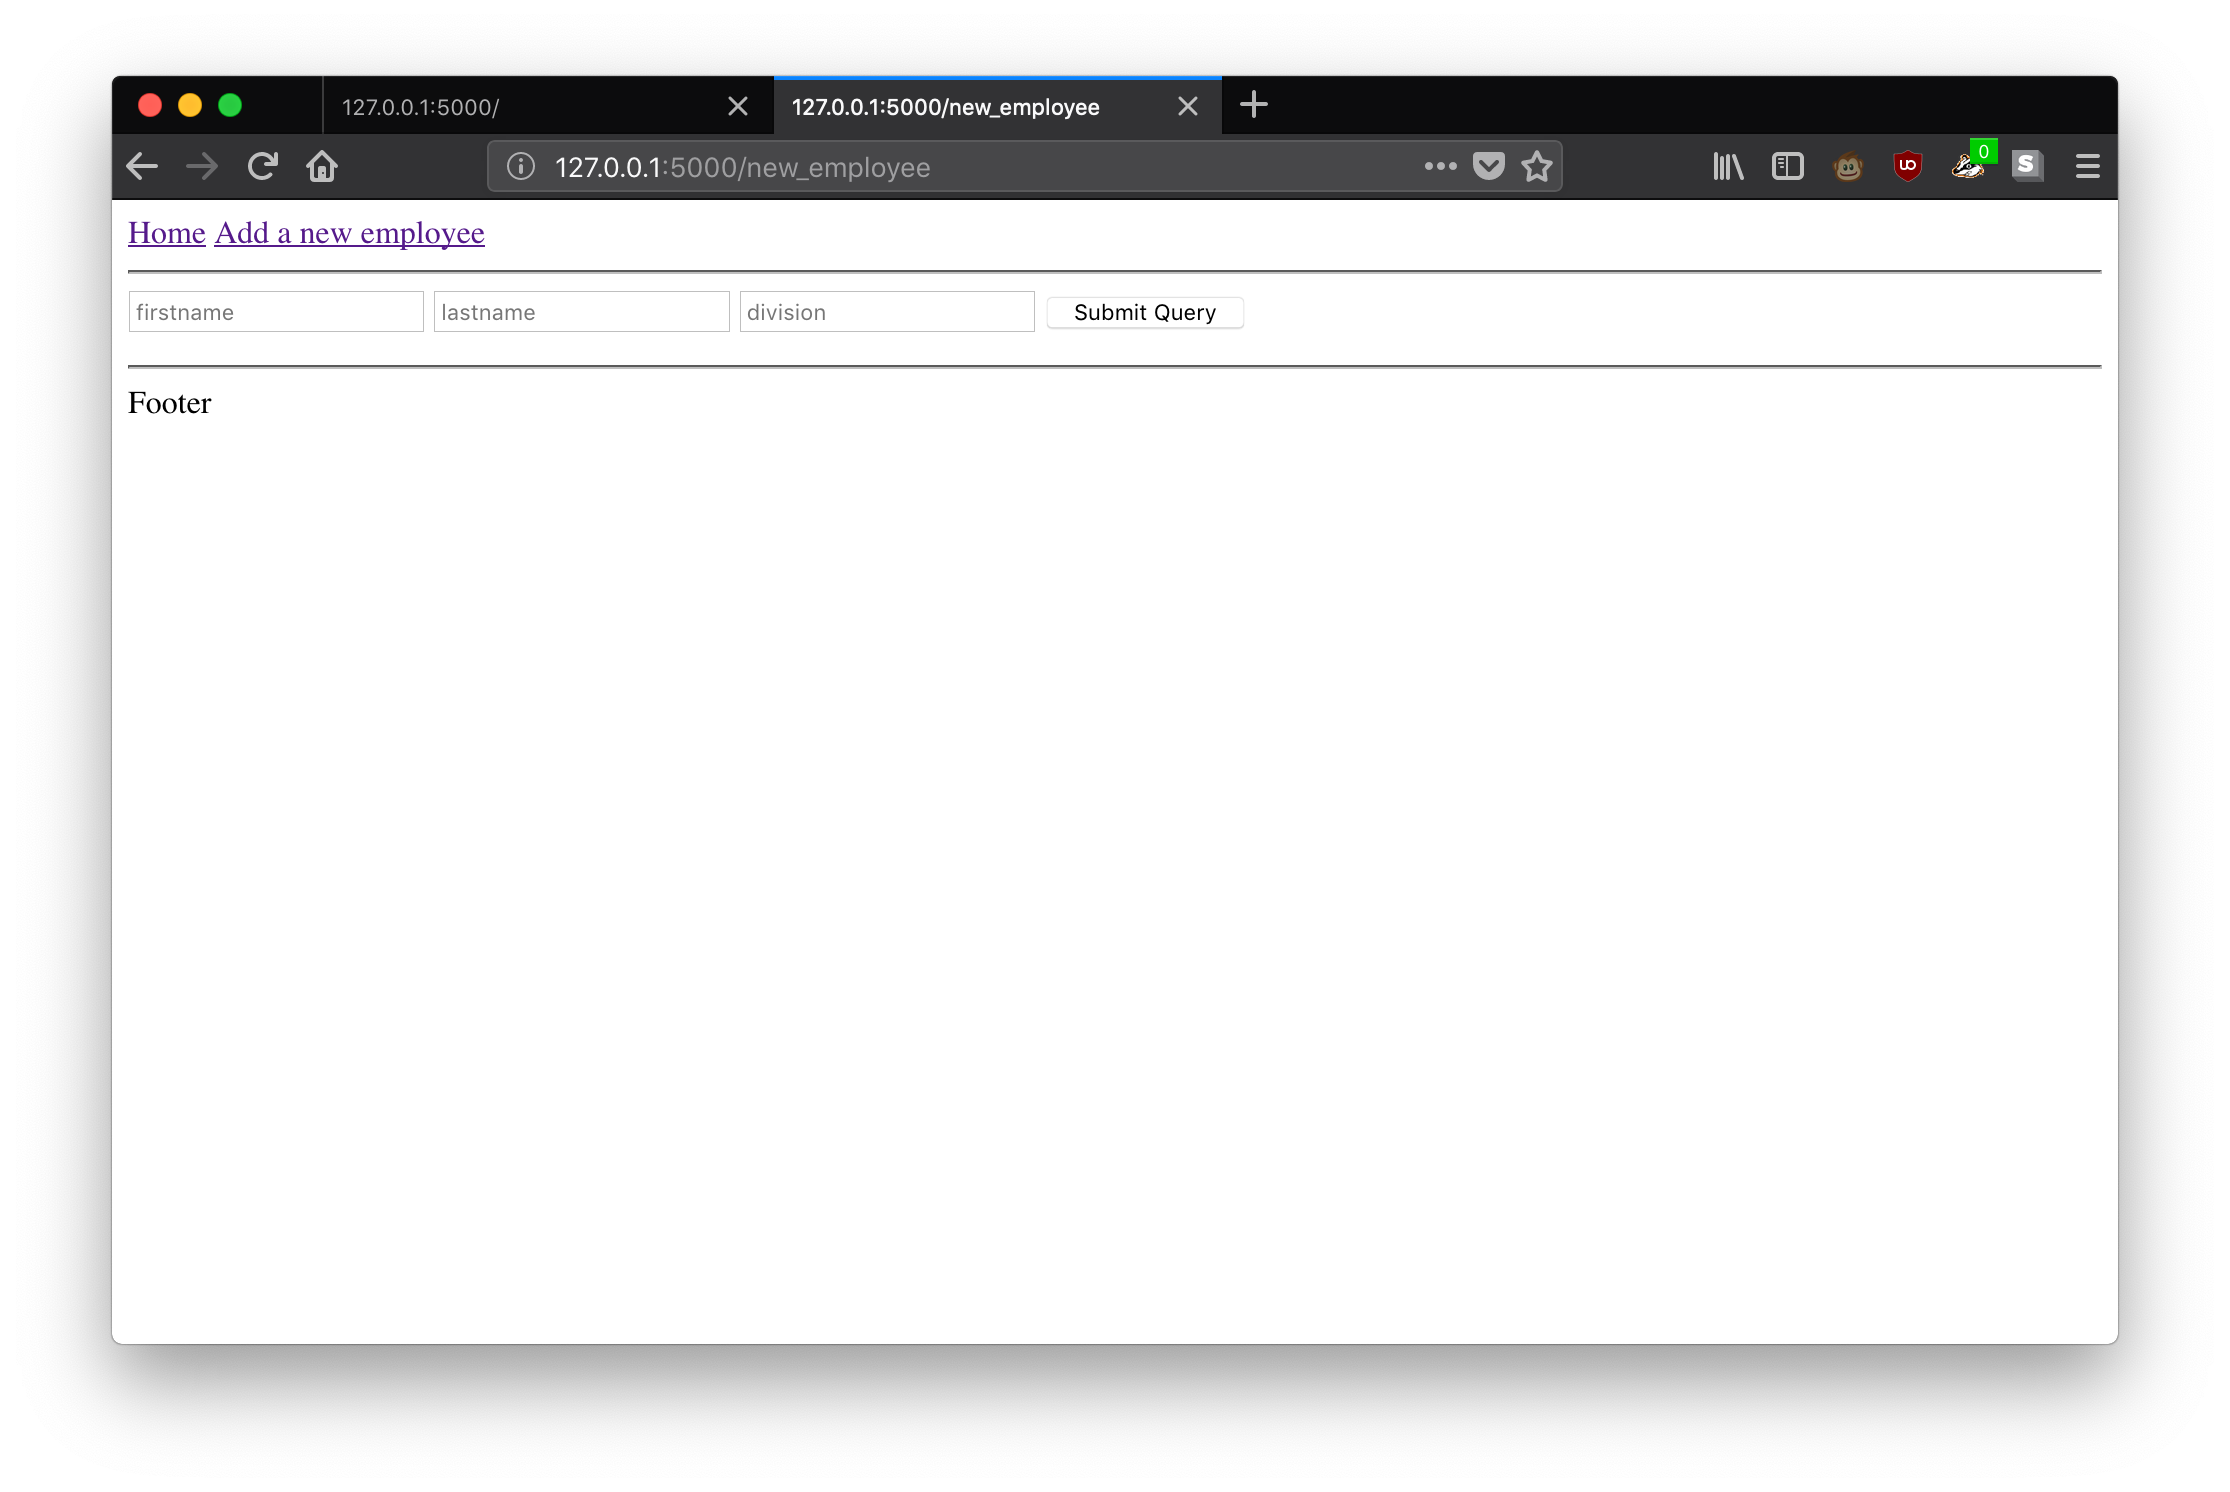
You can browse to http://127.0.0.1:5000/new_employee to visualize the new form. The form is not ready yet as we need to create a function that will process its data!
The following function can be used to process the data sent via the previous form:
To use it we need to modify the template of the form to send its data to this new process_employee_form_function function:
You can enter data in http://127.0.0.1:5000/new_employee to visualize the new form:

Submitting a form with some data should display the following message in the output of the application:
The first line says that the flask.request.form expression resolves as dictionnary containing the data of the form. The second line is just a formatted string with the parameters of the form.
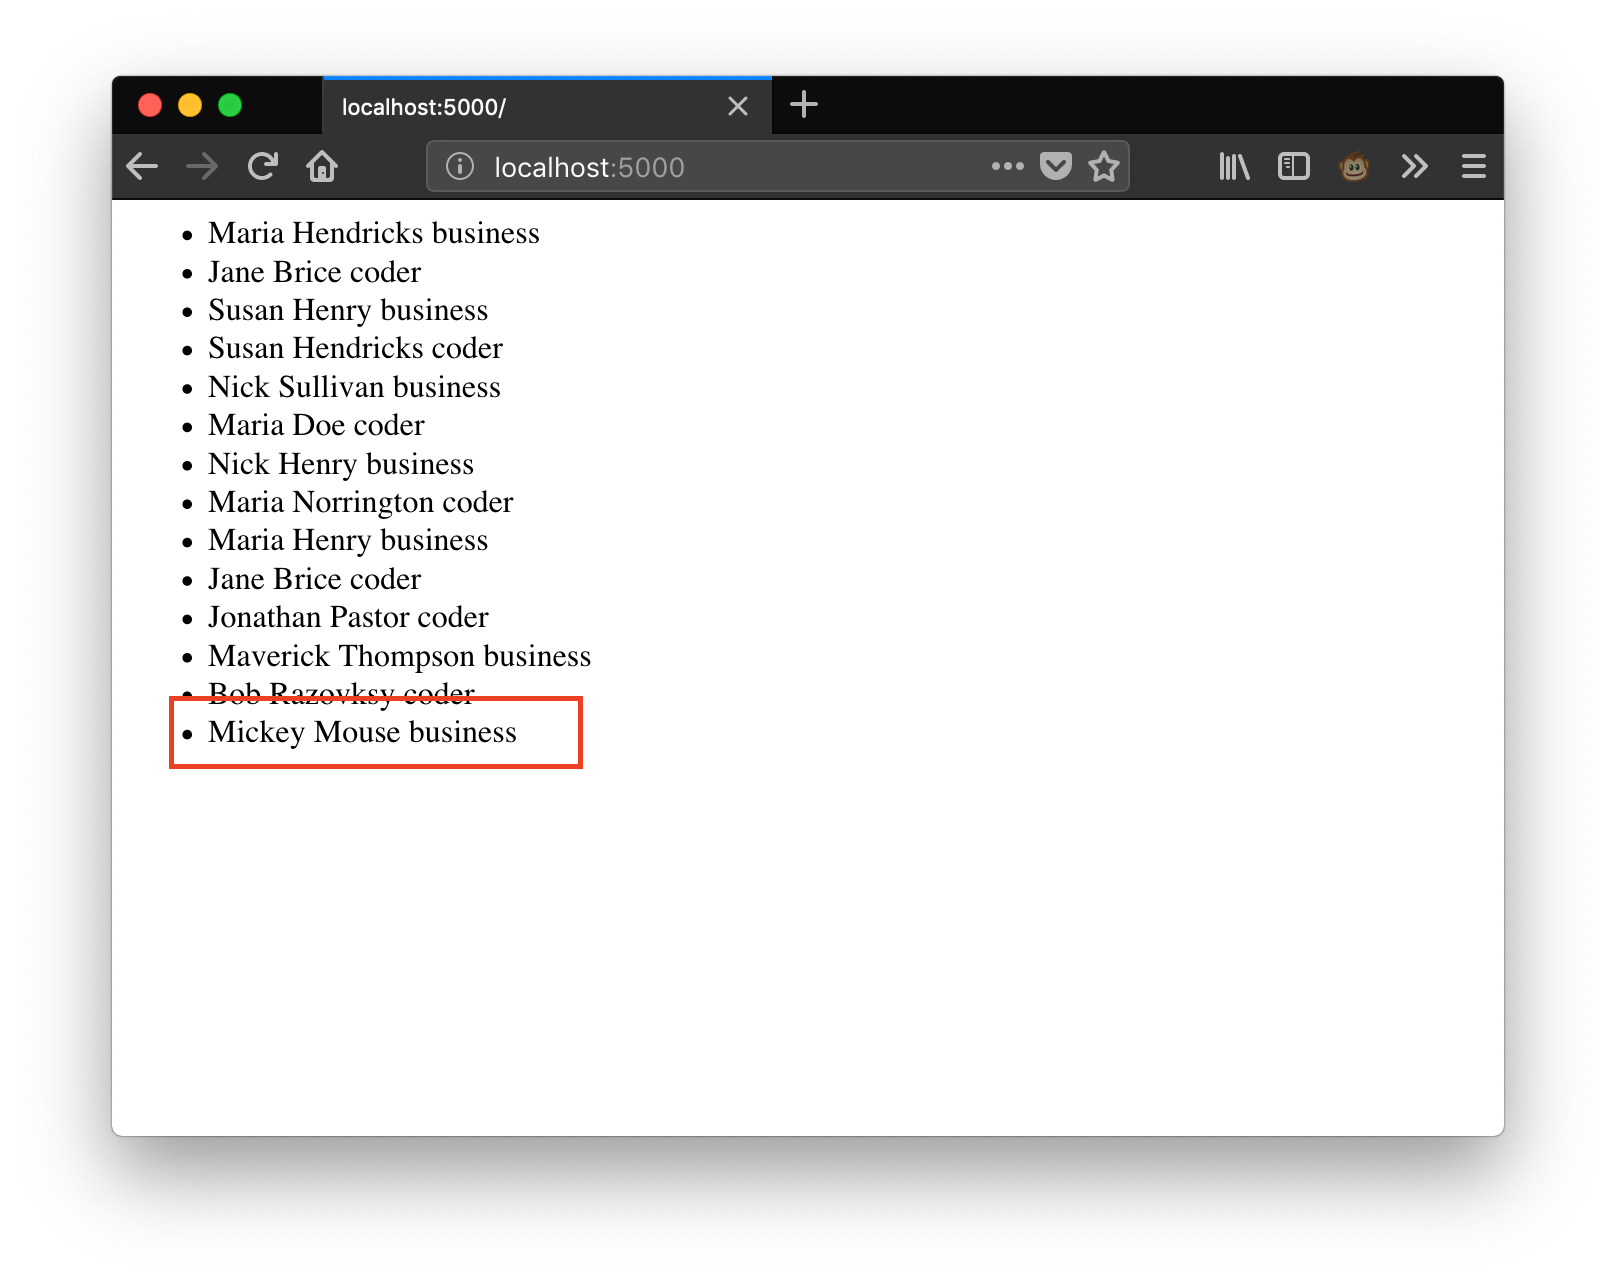
Now that we have a method that can process the data sent by the form, we are now going to insert this data in the database! Modify the process_employee_form_function function to include the following code:

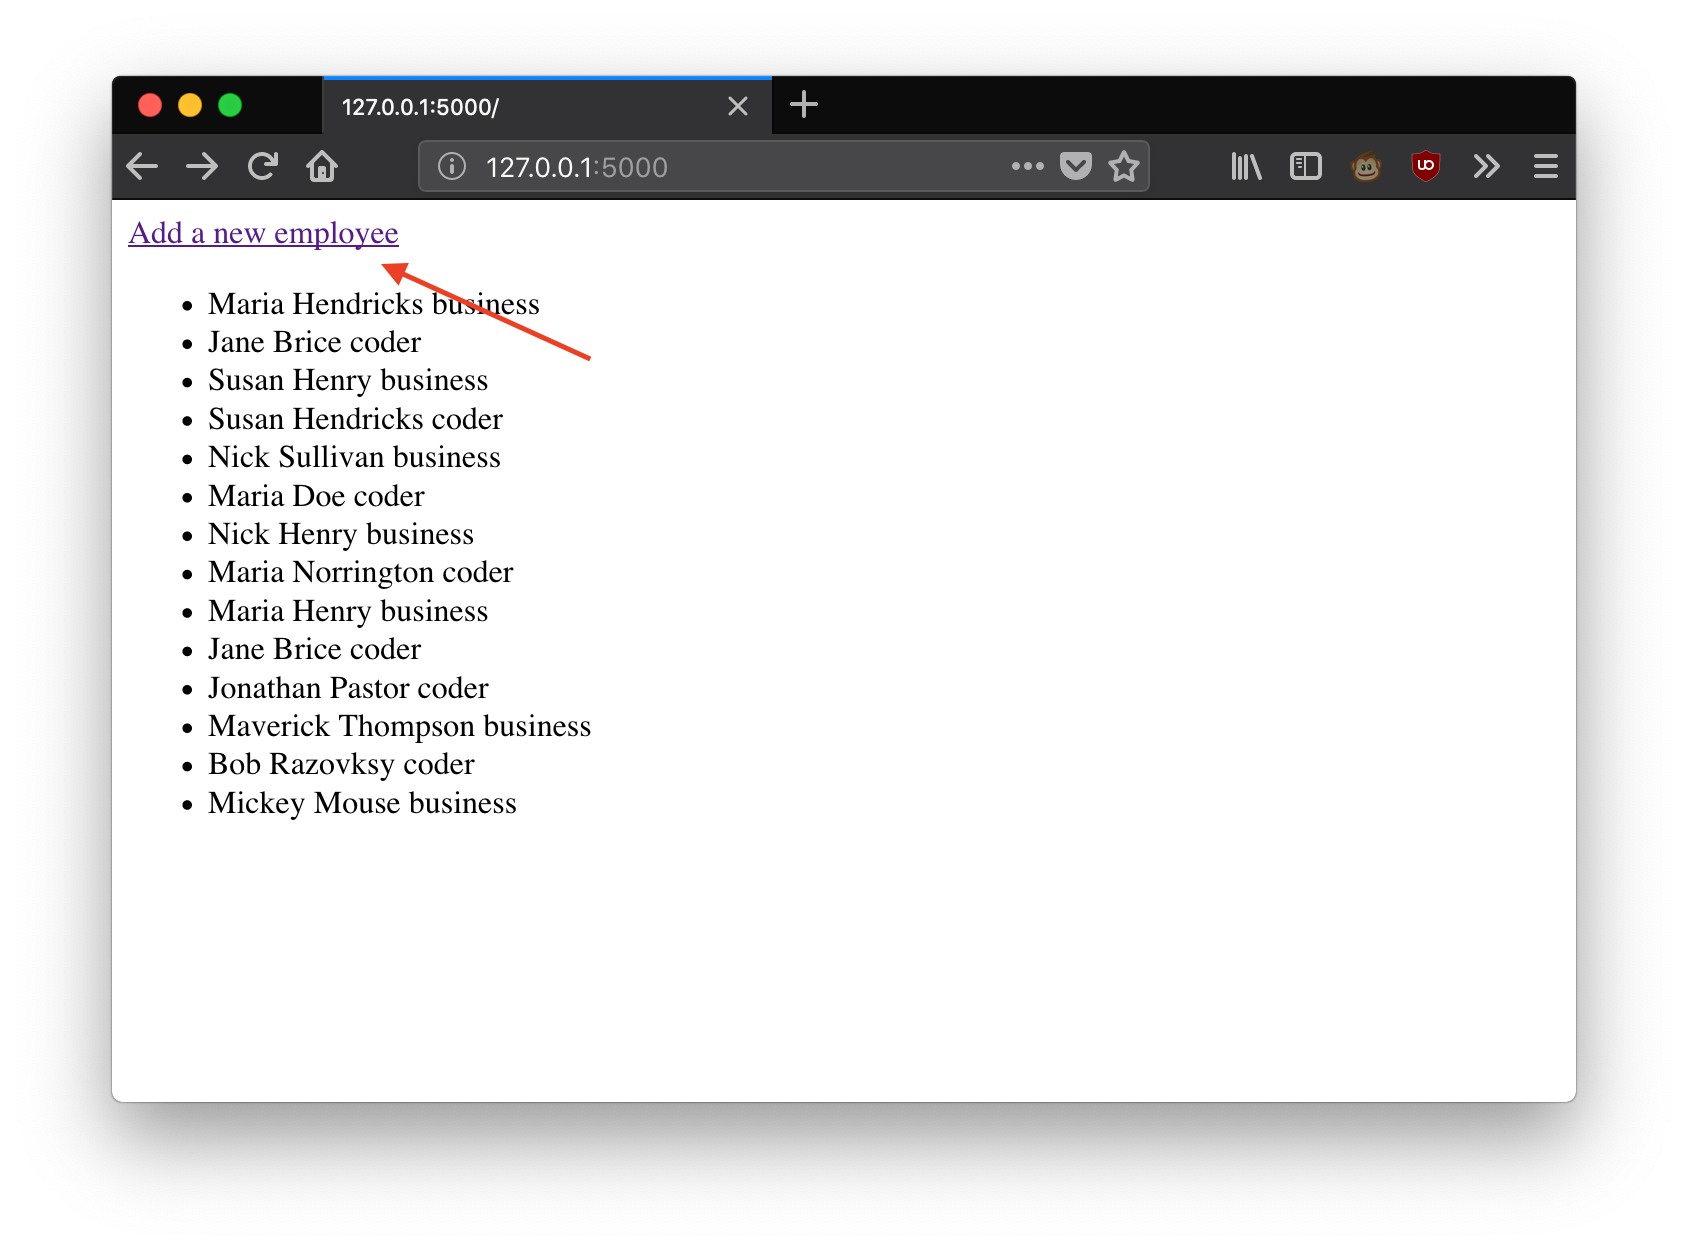
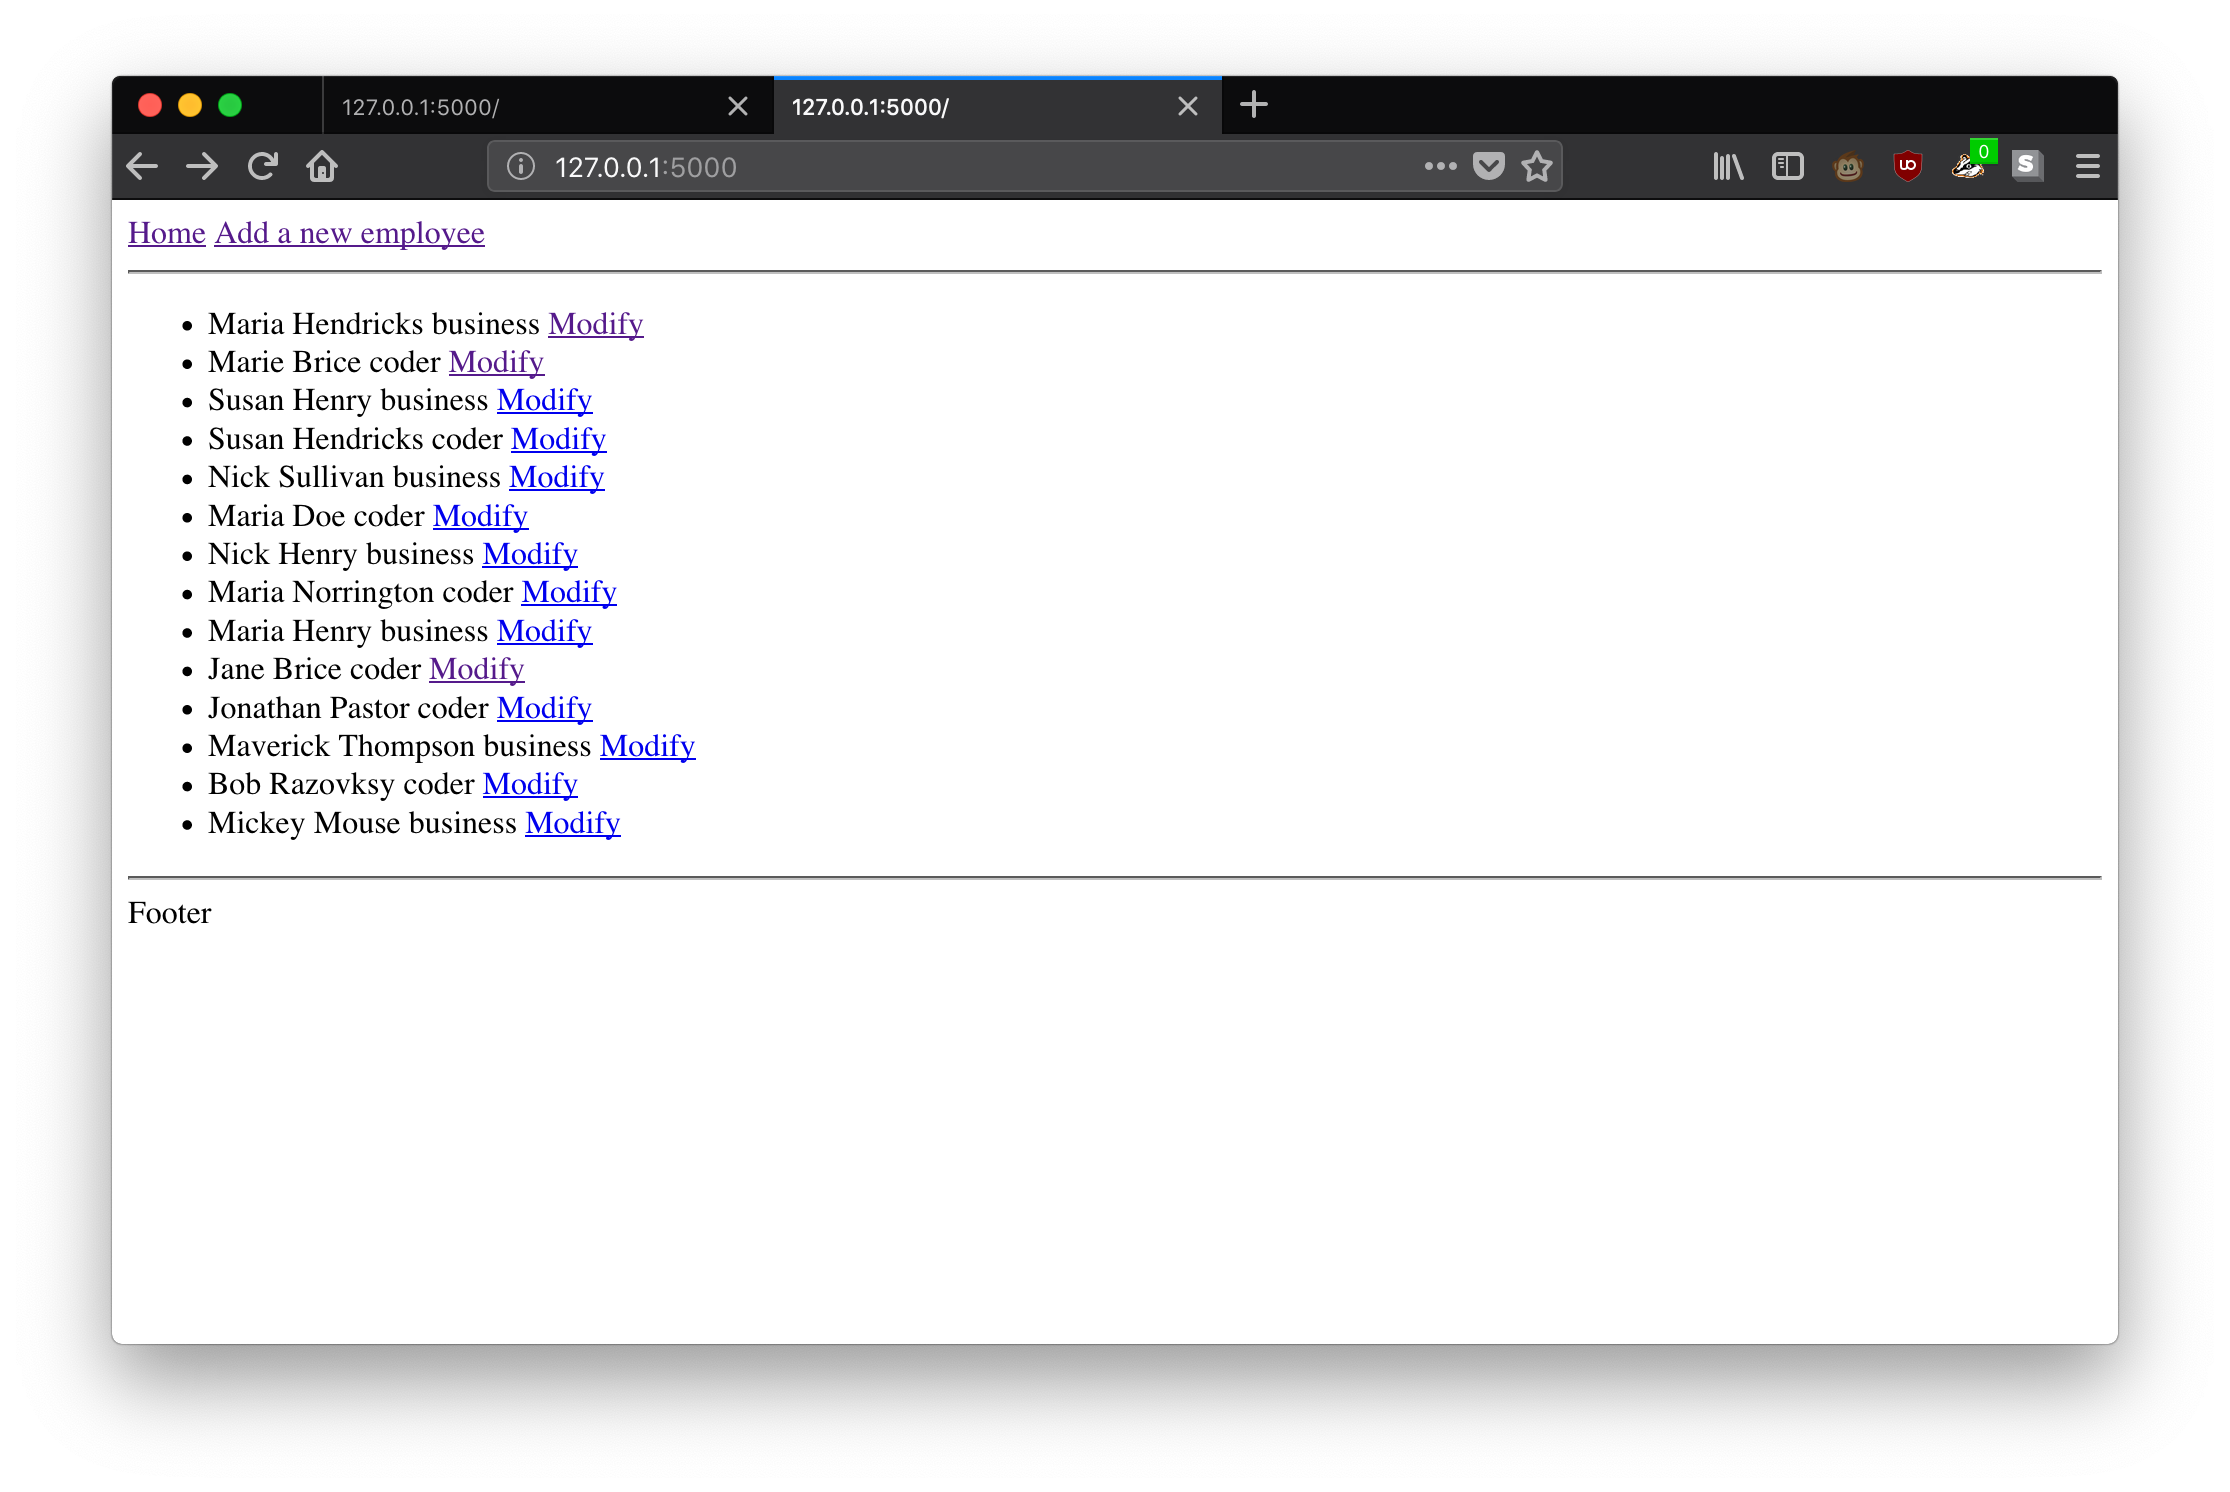
Let's add a link to the form on the homepage:
III- Updating a user
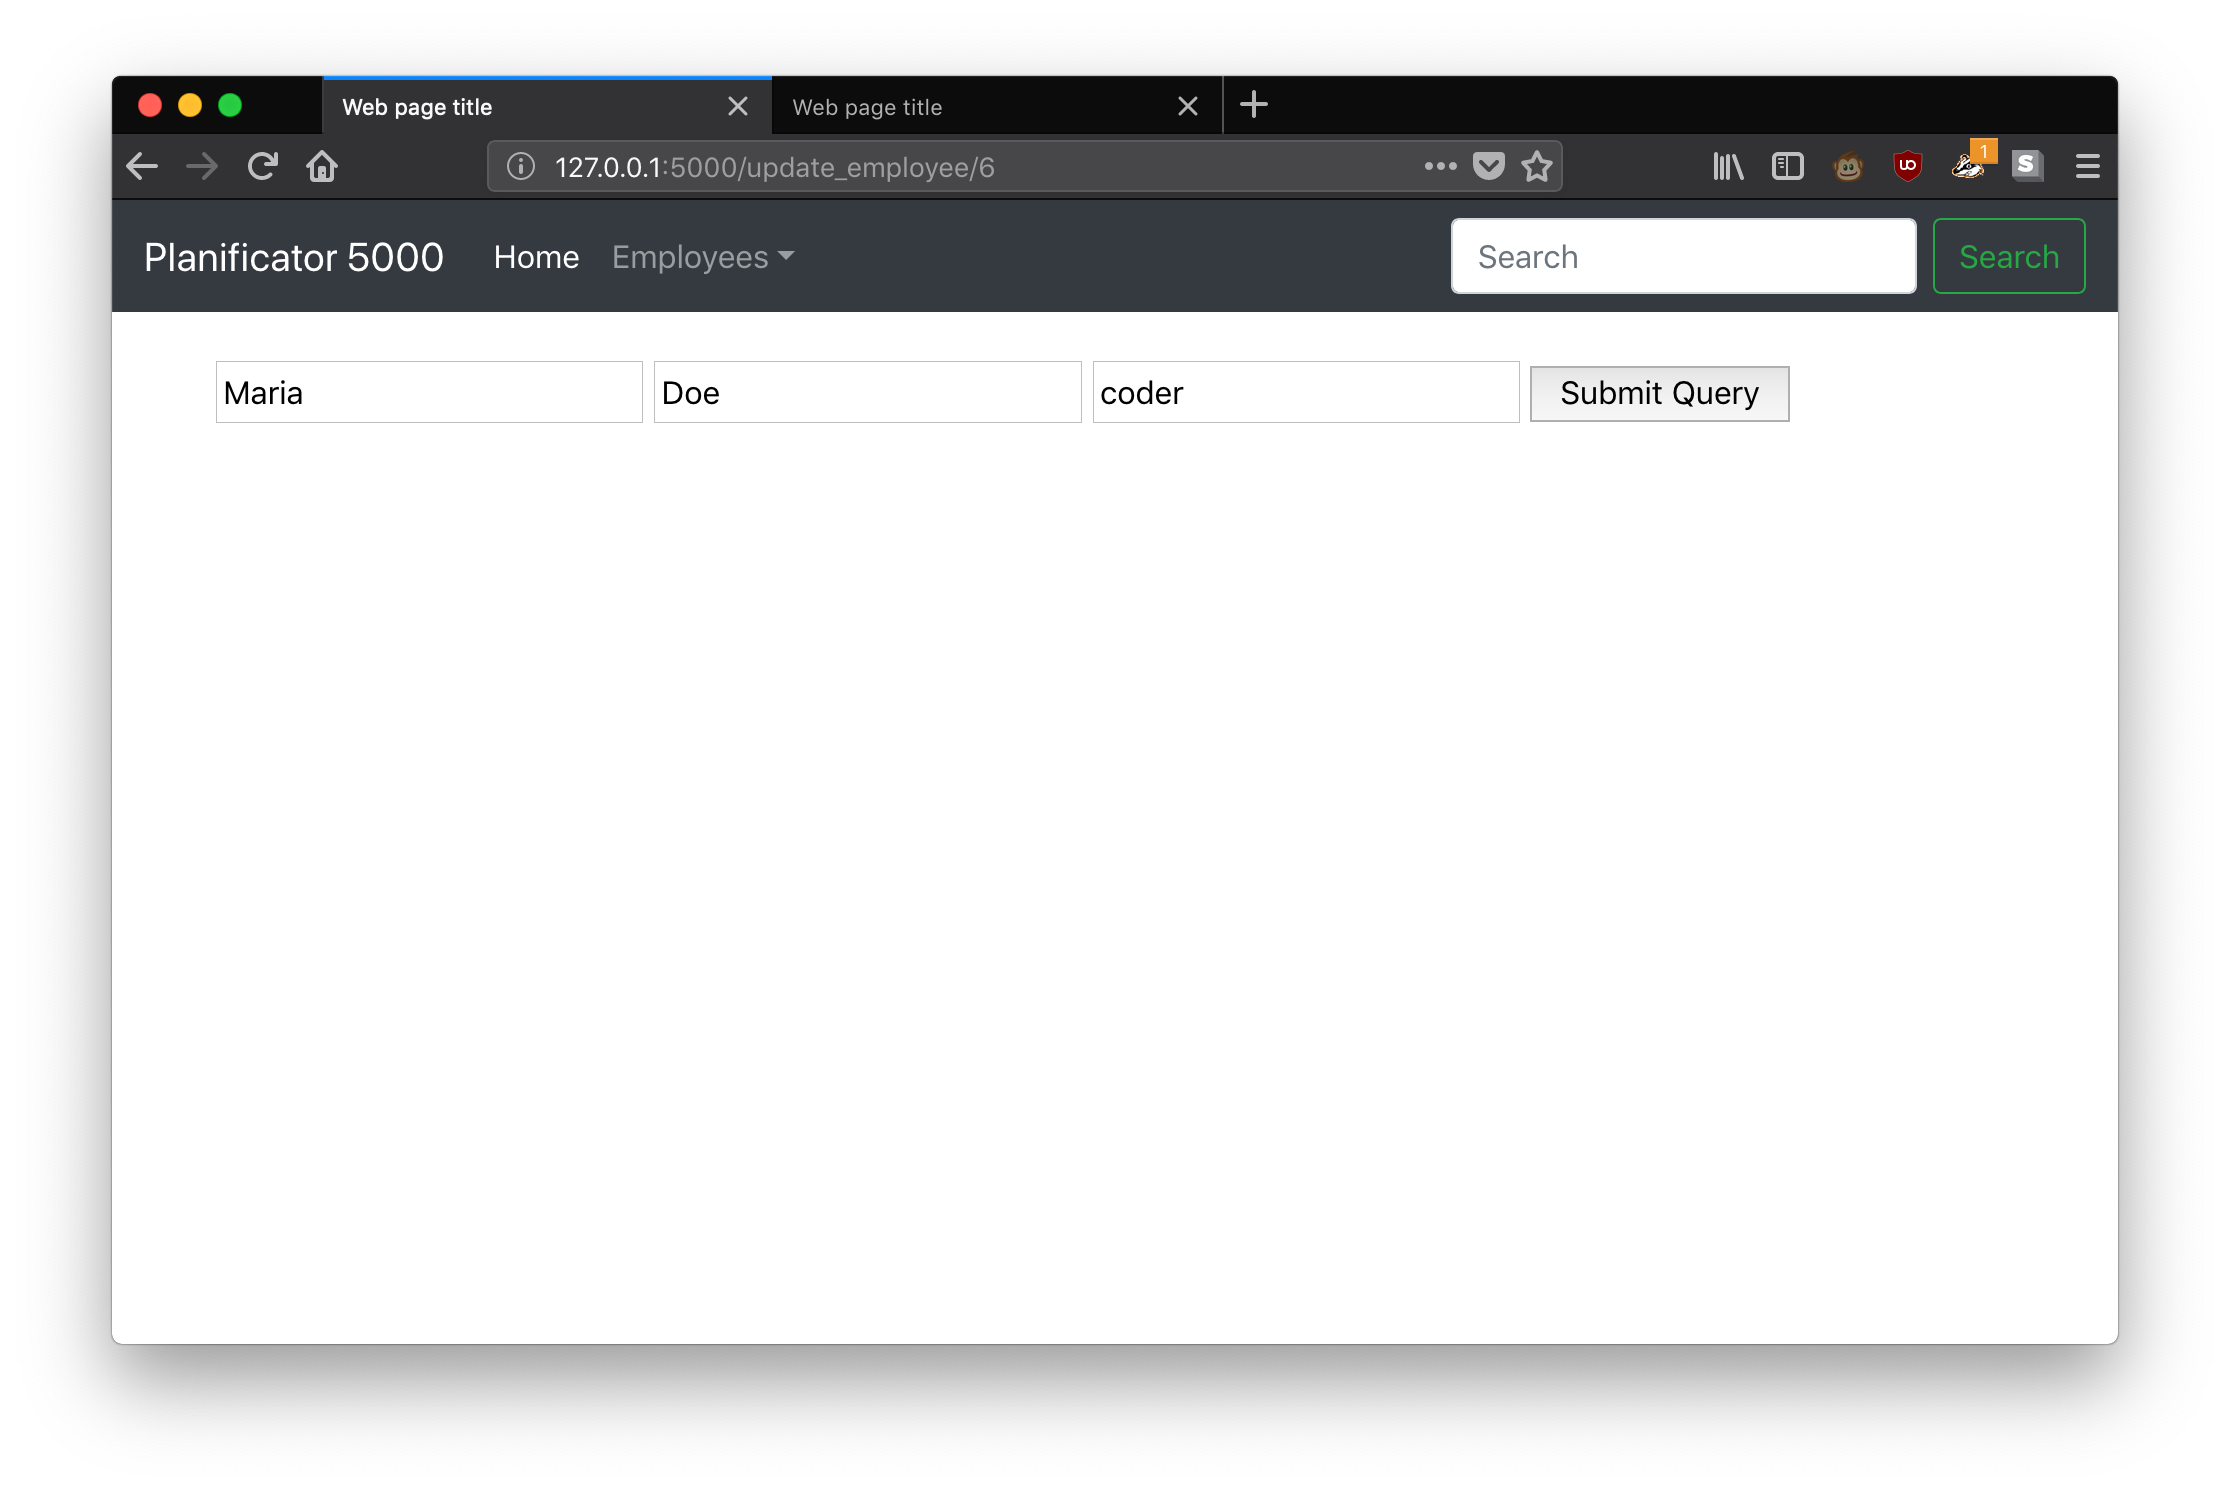
A- Loading default parameters in a form
In this Section we are going to reuse the previous code in order to be able to modify existing employees.
First, modify the template of the form, in order to:
- Load default parameters value if they exists
- contain an hidden parameter containing the ID of the employee that is going to be modified
Here is the code of the form with such modifications:
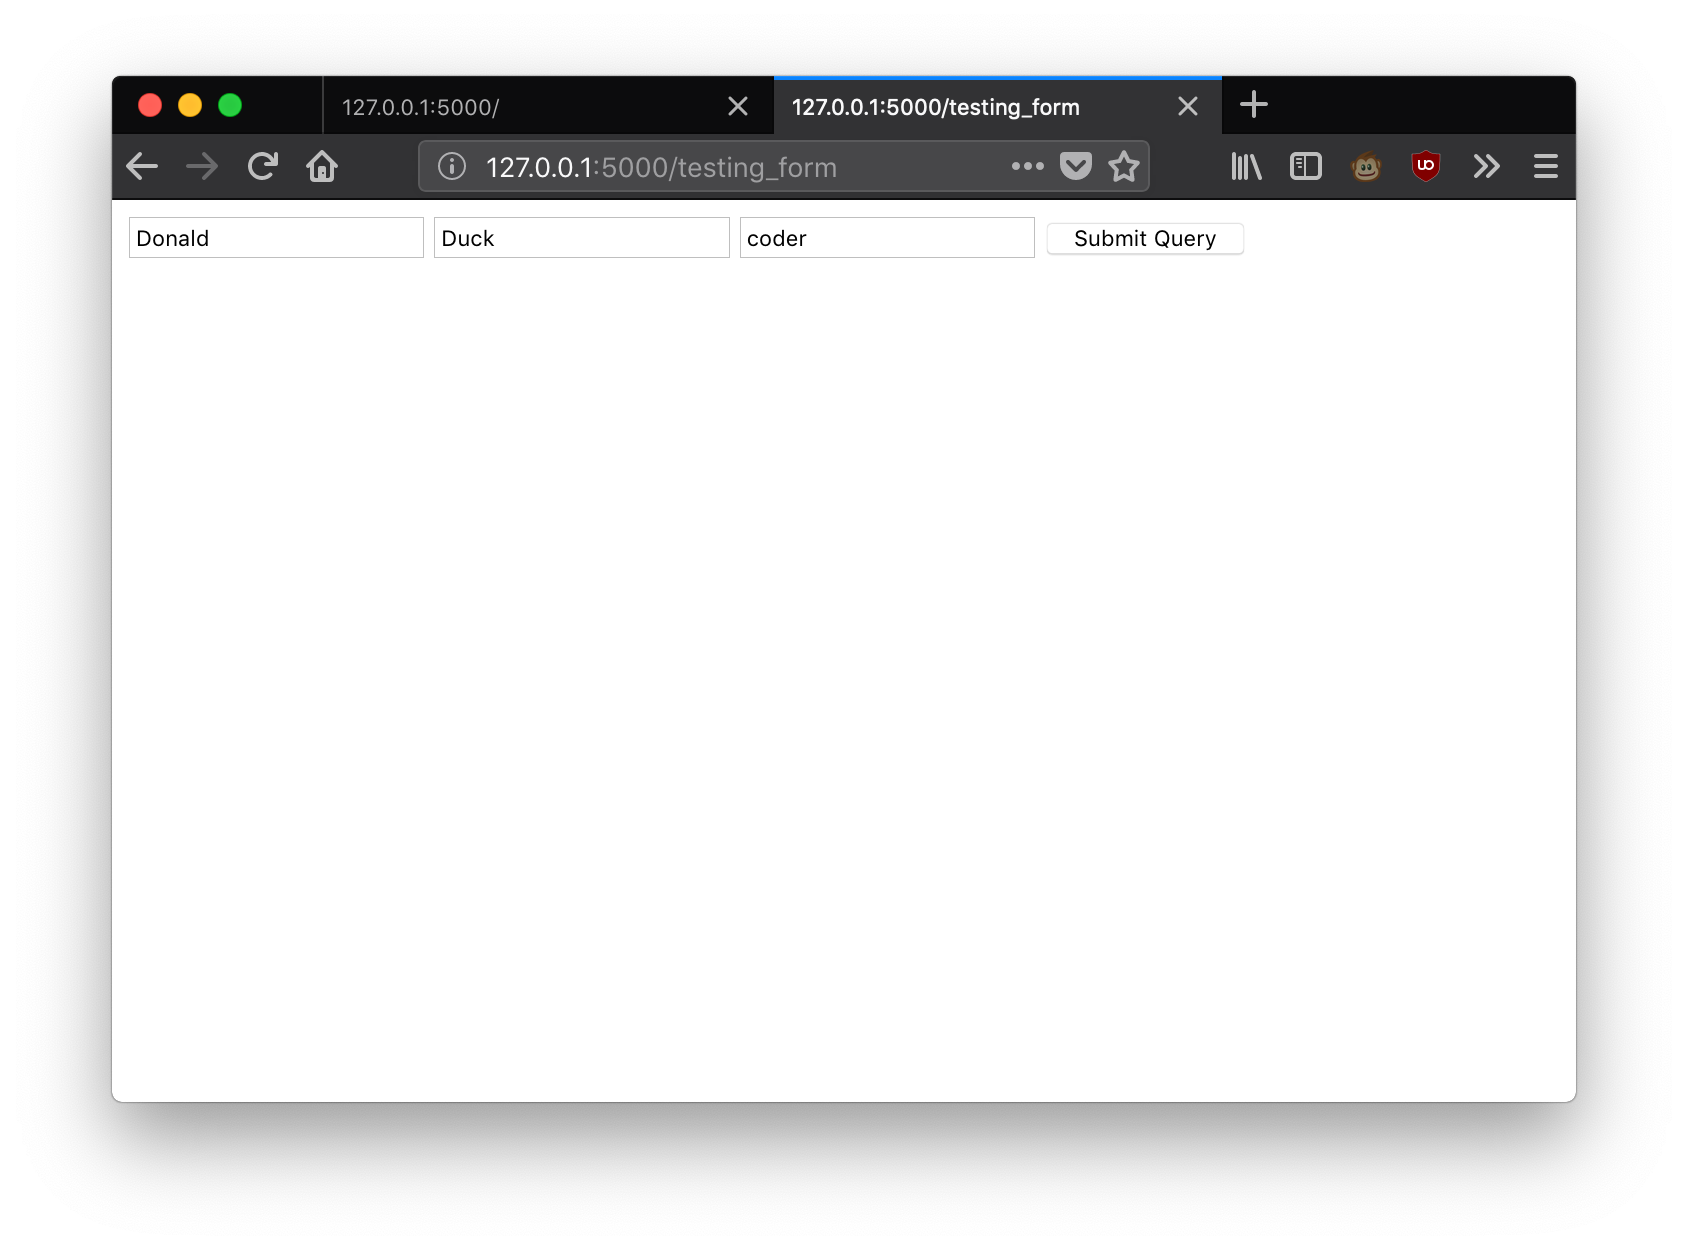
We can write a function that will be used to demonstrate the loading of default parameters in the form:
B- Modifying an employee
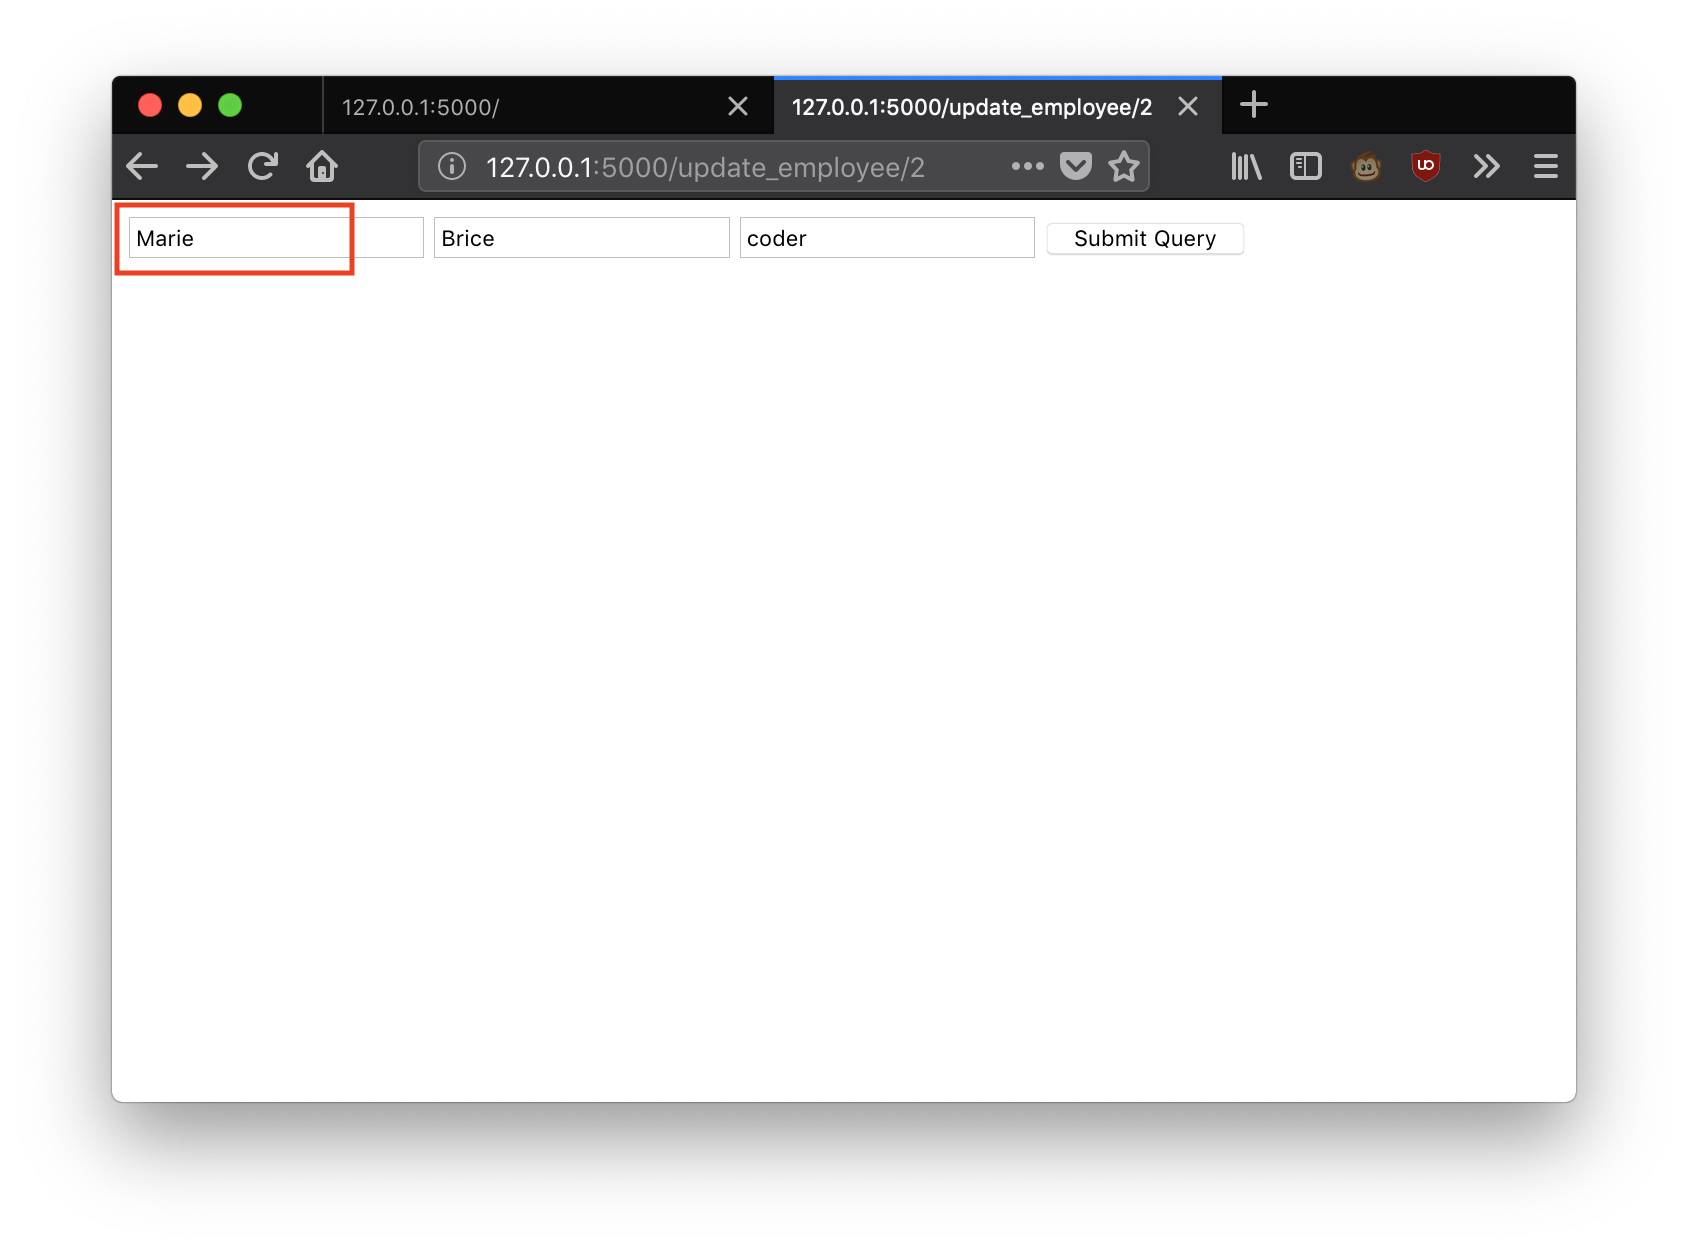
Let's add a function update_employee that take the id of an employee as a parameter:
If we browse to http://127.0.0.1:5000/update_employee/2, we can see the form with preloaded information of employee with id=2.
We need to modify the code of the process_employee_form_function function in order to handle update of existing employees!
To handle the update of existing employees, we need to implement the following behaviour:
- (1) Check if an ID of an employee is provided by the form
- (2) Retrieve the employee from the database
- (3) Modify the existing employee record
The following code is a modification of the process_employee_form_function function that implements such a behaviour:
Let's now add a link to ease the modification of an employee. To do so, we are going to modify the home.html.jinja2 template as follow:
IV- Toward a prettier website
A- Implementing a common layout between pages
We would like to have a kind of navigation bar at the top of each web page. This toolbar will implement:
- A link to the home page
- A link to create a new employee
We could add manually this bar on each of the page, however this would be a redundant approach.
Instead, we are going to play with the notion of layout. First, create a new templates/layout.html template with the following code:
To benefit from this toolbar on the existing page, we have to modify their code:
- Extends the parent layout templates/layout.html.jinja2
- Embed the content in a body block
Here is the updated code of the home.html.jinja2 template:
And here is the new code of employee_form.html.jinja2 template:
B- Using Bootstrap
Bootstrap is a CSS framework that enables to quickly prototype a web application. It provides a set of CSS classes that can be used to build beautiful web pages.
Here are few useful links:
Let's get started with Bootstrap : let's leverage the starter example and modify the templates/layout.html.jinja2 file with the following content:
It will result in the following design:
V- Playing with databases
A- Basic queries
1) Query objects
2) Adding objects
3) Removing objects
B- Manipulating relationships
You can add an employee to a project via the following code:
In a similar way, you can unsubscribe with the following code:
VI- Adding assets to the application
Assets files are files that are used by the browser in addition to the HTML code that is interpreted by a web browser. They can be images, CSS stylesheets or Javascript files.
In Flask, they are stored in the static folder. Create a static folder in your project, and then add three folders in the static folder:
- css
- js
- img
We will add a first asset to the web application: create a theme.css file in the static and fill it with the following code:
Then, in the templates/form.html template, add the line in the HTML header: