Chapter 3 - Interacting with users
Creating forms with Flask, generating hypertext links and introduction to cookies.
I- Creating forms with Flask
A form is a set of fields that are displayed in a web page. Users can fill these fields and submit the form to the web application (usually by clicking on a submit button). Once a form is submitted, information filled by users will be transmitted to a specified endpoints (i.e. a python function) of the web application.
The first step is to create a view that generates an HTML form:
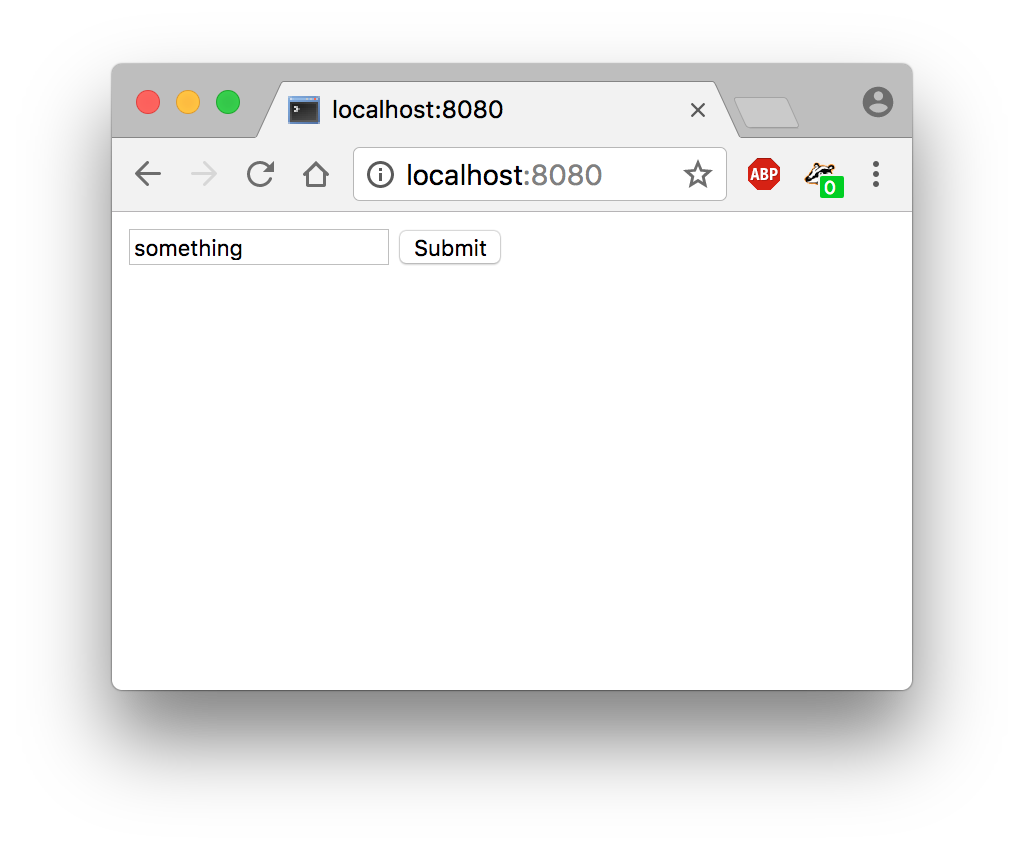
generate_form will display a form containing a text field and a submit button. When a user enters some text and clicks on the submit button, the data entered in the text field is transmitted to another view (form_handler), which will be in charge of processing the data entered in the form.
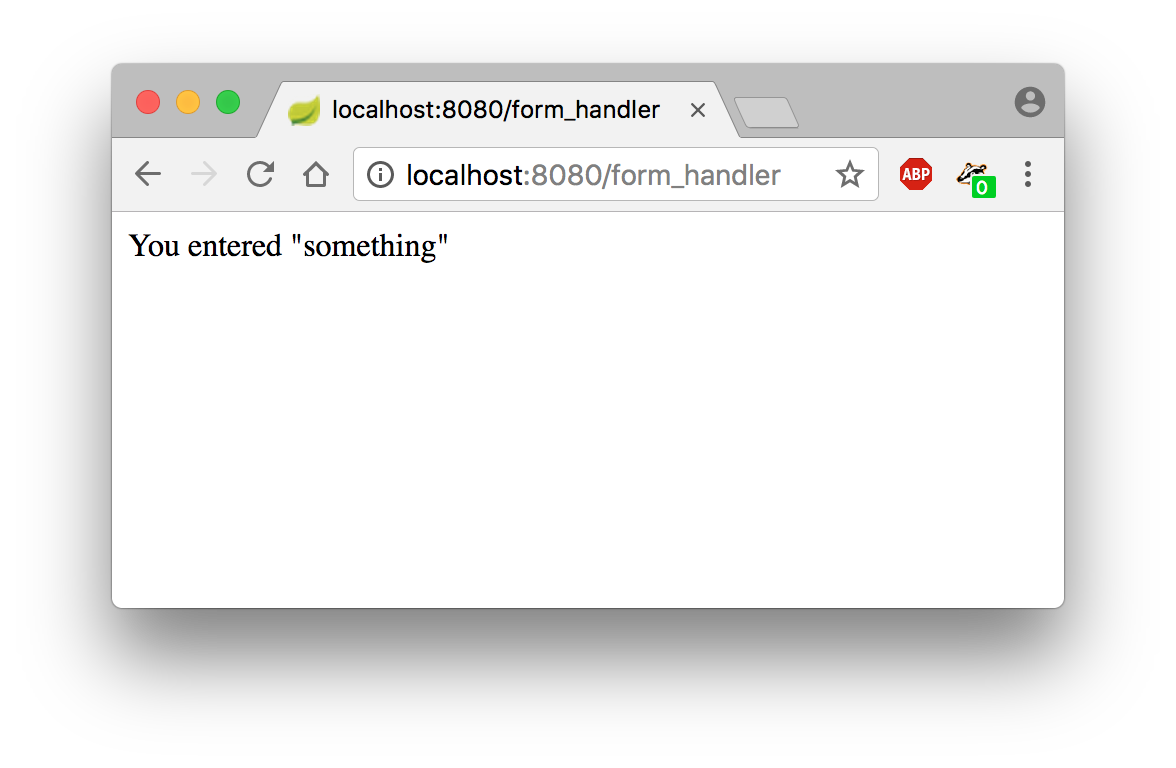
Let's now create a view that is in charge of processing data from the previous form: it will be accessible via the form_handler URL. This function will check the information provided by the incoming request, extract a task from this information, and display the task as a result.
Now, after running the web application, access the / URL. You should get access to the following page:
Enter some text in the text field and click on the Submit button. You should land on the following page:
II- Generating hypertext links to views and redirecting users
A- Generating hypertext links
In HTML, creating an hypertext link to a web application's endpoint is made by using the <a> tag and by specifying an URL in its href property. Here are few example of HTML links:
Flask provides the url_for helper to generate URL to endpoints: it takes the name of a view as a parameter, and returns an URL to the view. The following snippet illustrates how to use it:
You can complete the generated link with arguments by adding these arguments to the url_form as in the following example:
B- Redirecting users
After the execution of a view, it is possible to redirect an user to another view by using the redirect function, as in the following example:Now, after submitting the form, the user should be redirected back to the view that generates the HTML form.
III- Introduction to cookies
A cookie is an information stores by a website on the user's computer.
With Flask, to store a cookie in the user's computer, one should use the session mechanism, which provides a high level API for manipulating cookies.
First, import the session mechanism from Flask and set an application password (it will be used to encrypt cookies):
Now, you can set cookies by manipulating the session object as a dictionary:
V- Summary
The following code summarizes what has been shown in this chapter: